
Start with the cut line, then check the register
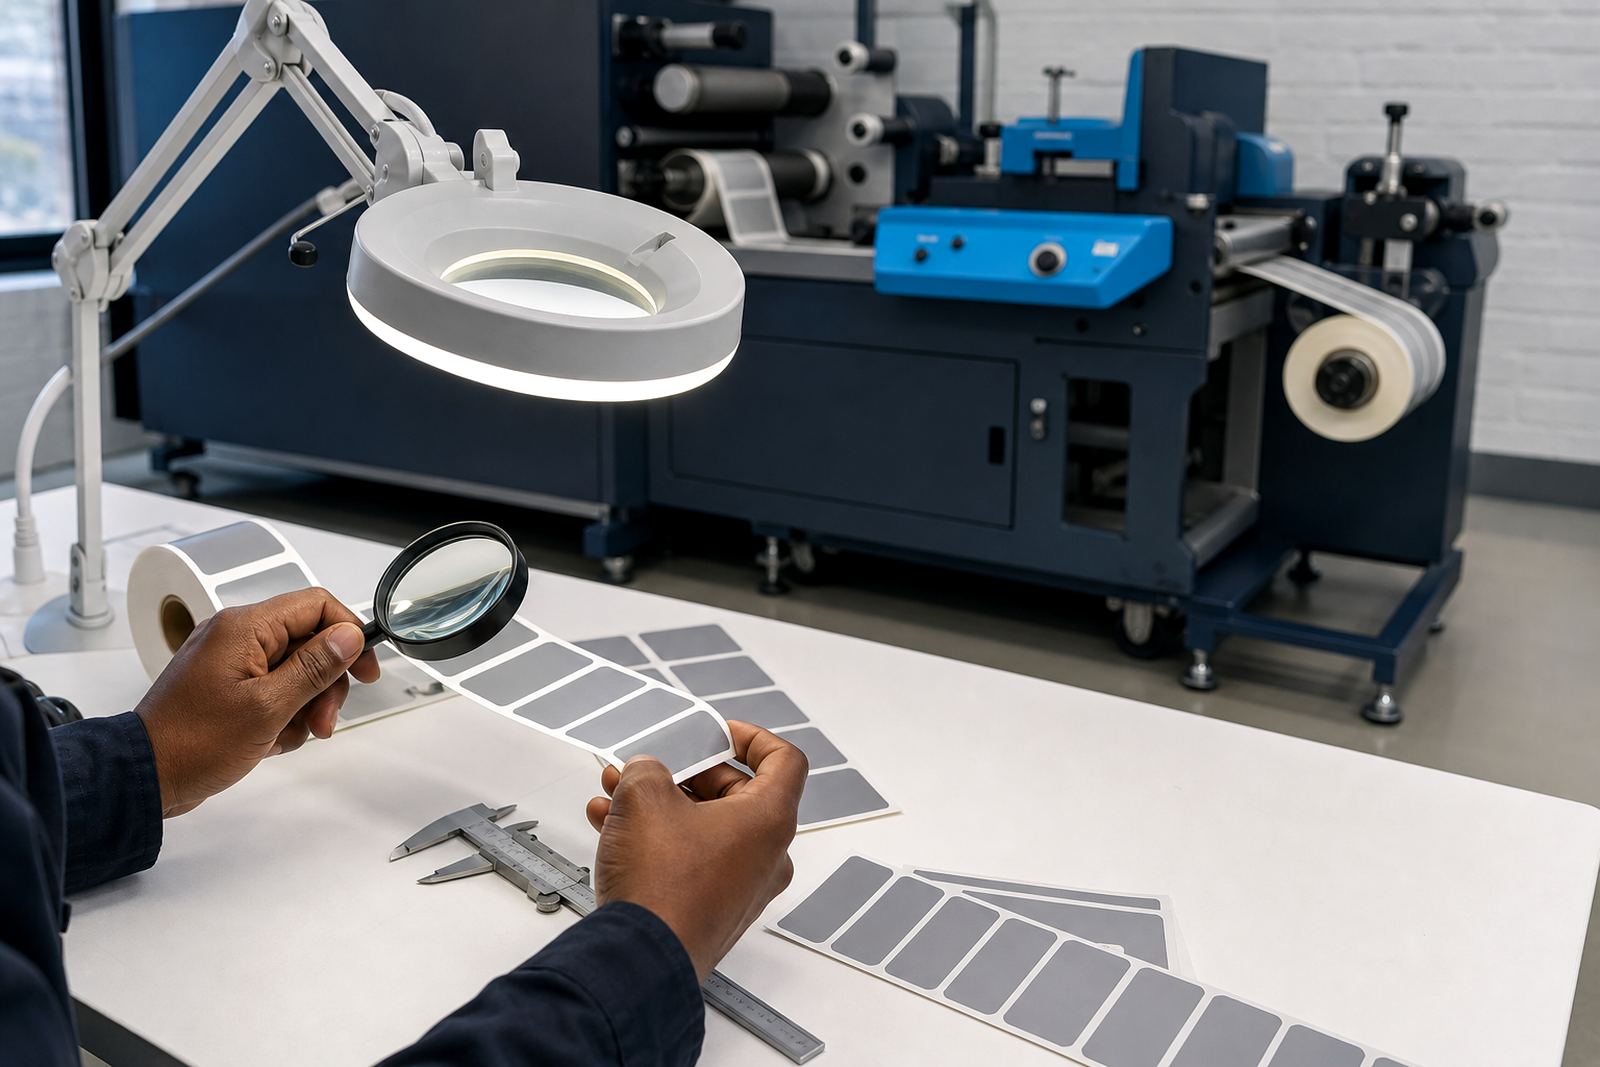
A clean sample begins with the cut following the printed image, not wandering into text, varnish or white space. On digital label work, the first thing to inspect is whether the cut sits where the registration marks say it should, especially on short repeat jobs where tiny drift shows up fast. If the job uses a semi-rotary system, look for consistent depth across the web and no sign of the blade hunting at the edges of the repeat.
When the sample is held up against the print, the outline should sit evenly around corners, curves and fine type. A few tenths of a millimetre can matter on small labels. Check that the liner is still intact where it should be, and that the cut has not pinched through where the label will separate on press or at hand application.
- Match cut position to the printed mark on the first few metres
- Check corners, arcs and fine text for wander or overcut
- Look for liner damage, scoring or nicks outside the label shape
- Repeat the check after a roll start, a splice and the end section
Strip waste by eye, not by assumption
Matrix stripping tells you a lot about blade pressure, web tension and whether the die is cutting cleanly through the face stock only. A good sample leaves waste that lifts in one piece, without tearing into islands or dragging along the edge of the label. On varnished or laminated stock, the waste should peel away without lifting the print layer or leaving ragged fibres behind.
Watch the corners and narrow bridges first. Those points usually show the earliest sign of a setup problem, especially on labels with tight shapes or fine internal cut-outs. If the waste breaks into small strips or leaves hanging shards, the stripping path may need adjustment or the cut depth may be too aggressive for the material. On heavier paper stocks, a clean strip still needs to leave a flat, stable face with no lifted edge.
- Waste should lift in one continuous path where possible
- No torn fibres, pulled corners or loose slivers should remain
- Internal cut-outs must clear without snagging the web
- Laminated and varnished faces should stay smooth after stripping
Read the slit edge like a production note
Slitting quality shows up in the edge feel and the way the roll behaves when it is handled. A good edge is straight, clean and free of feathering. If the slitter is too dull, too tight or out of line, the edge may show fuzzing, burrs or a slight wave that becomes obvious once the roll is unwound at the pack line. On narrow rolls, poor slitting often shows before anything else because there is less width to hide the fault.
Run a finger lightly along the edge. It should feel even, not rough or crushed. Check both sides of the slit, because one blade line can look fine on top while the underside shows the real damage. If the job uses multiple lanes, confirm that each lane stays square and that the rewind is not dragging one side tighter than the other.
For packaging producers running sleeves, wraparound labels or small-format work, edge quality matters because the customer sees it in the final pack. Any fray at the slit line can become a feeding issue later, especially where labels must peel cleanly from a liner or feed at speed through an applicator.
Judge rewind quality by the roll, not only the label
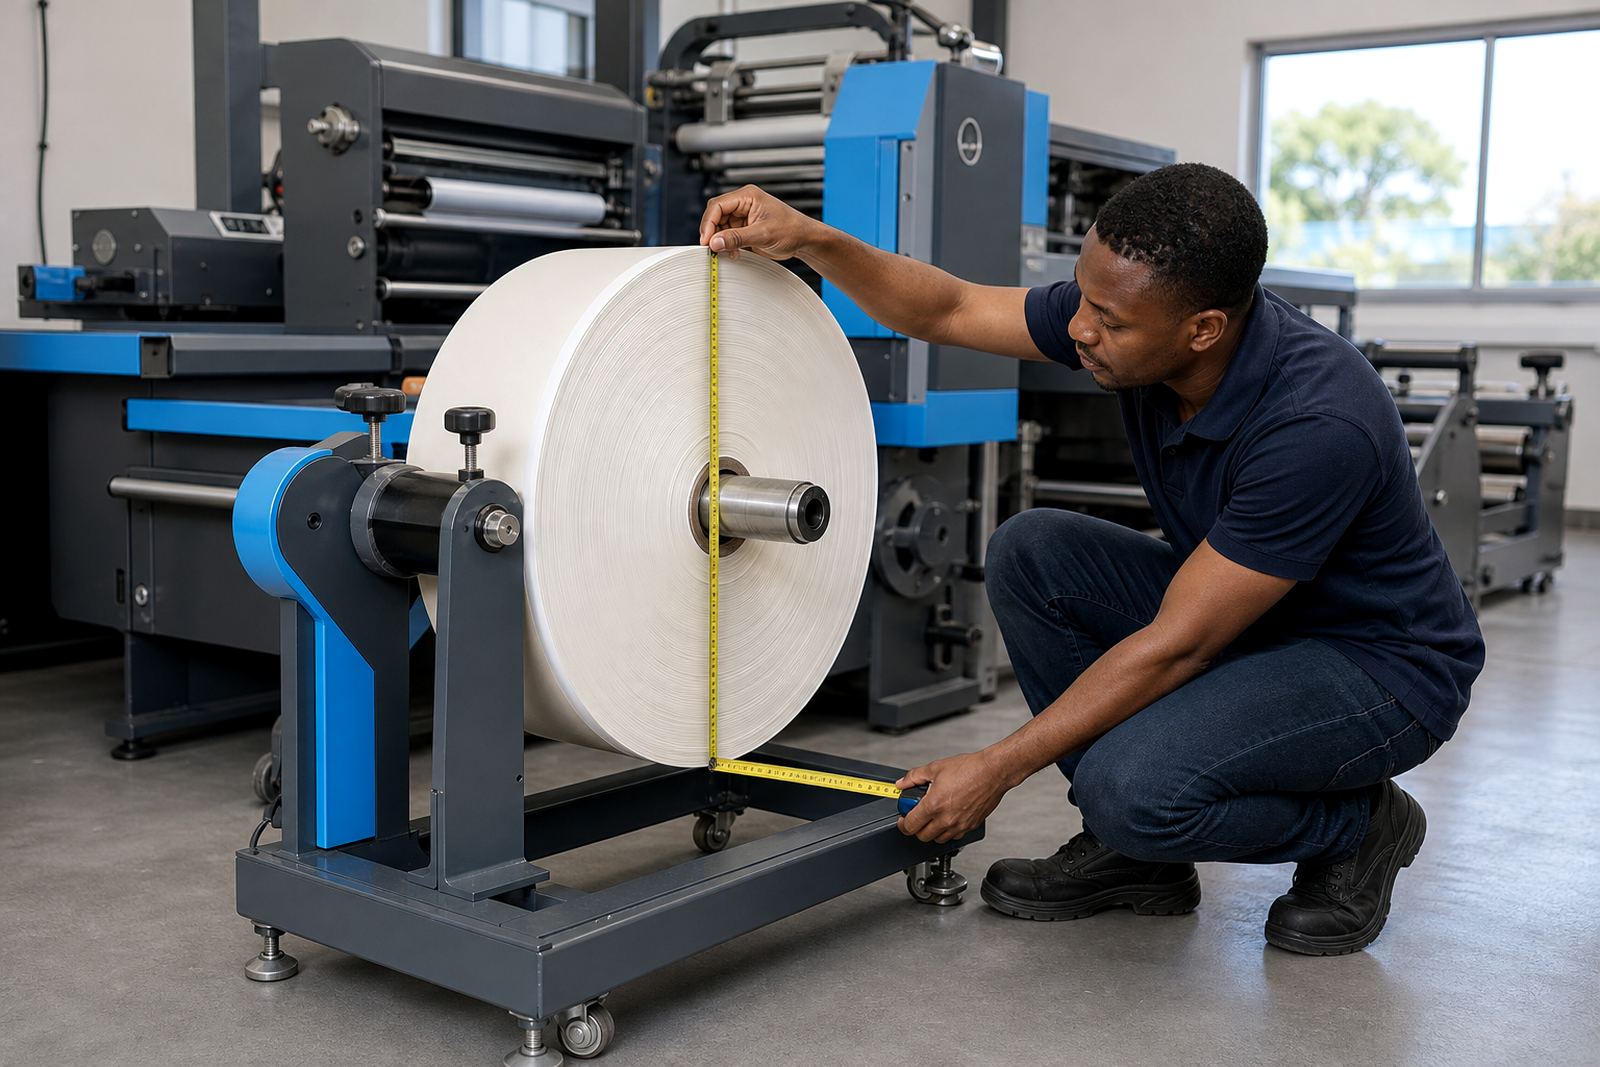
A sample can cut well and still fail on rewind. Look at the roll build from the side and from the ends. The pack should be even across the width, with no telescoping, starring or loose outer turns. A tight core with a drifting outer wrap points to tension imbalance, poor winding tension or an issue in the rewind setup. On long jobs, those signs tend to build slowly, so it helps to inspect the first roll and the last section with equal care.
The roll should unwind without soft spots, tight spots or a sideways step in the web. If the material has lamination, foil or heavier varnish, the rewind needs enough control to keep the roll flat without crushing the face stock. Check that the core is seated properly and that the roll ends are square. A roll that looks neat on the outside can still be wound unevenly inside, so use both sight and touch.
- Ends should be square, not domed or crushed
- No telescoping or star pattern should appear on the roll face
- The web should unwind evenly through the full width
- Core tension must hold without flattening the label stock
A working checklist for sample approval in the shop
Use the same inspection path each time. That makes comparison easier when you are checking a new die, a revised artwork file or a different substrate. Start with print registration, move to cut line, then strip waste, slit edge and rewind build. When a sample changes between the start and middle of the roll, the reason is often in tension, blade depth or the interaction between the liner and the adhesive.
On label finishing lines that include laser or semi-rotary die-cutting, plus lamination or varnish, the sample should be judged as a full system, not a single pass. The printed image, coating and finishing steps all influence one another. A label that looks good at the face but lifts waste poorly will cause trouble later. The same goes for a roll that looks tidy until it is opened and fed into the next stage.
- Check the first metres, middle section and tail end
- Compare one approved sample against the next roll build
- Note where faults appear, not only what the fault is
- Record substrate, roll width, repeat length and finishing method
When the sample says the machine needs attention
Some faults are small enough to correct with setup changes, while others point to wear or service needs. If the cut depth changes across the width, the waste tears in the same place on every roll, or the rewind keeps drifting, the machine may need inspection rather than another round of trial runs. Registration marks that are hard to hold, or a slitting setup that never keeps a clean edge, are worth treating as service signals, not just job issues.
At that point, the quickest route is to isolate the fault to one part of the line. Check the unwind, the web path, the die or laser section, the strip path and the rewind. That helps separate material issues from machine issues. For Kya Sand, Randburg and the wider South African market, the practical answer is usually the same: work from the sample, trace the fault, and set the machine back into a range where the next roll holds its shape.