
Map the actual roll path before you move a machine
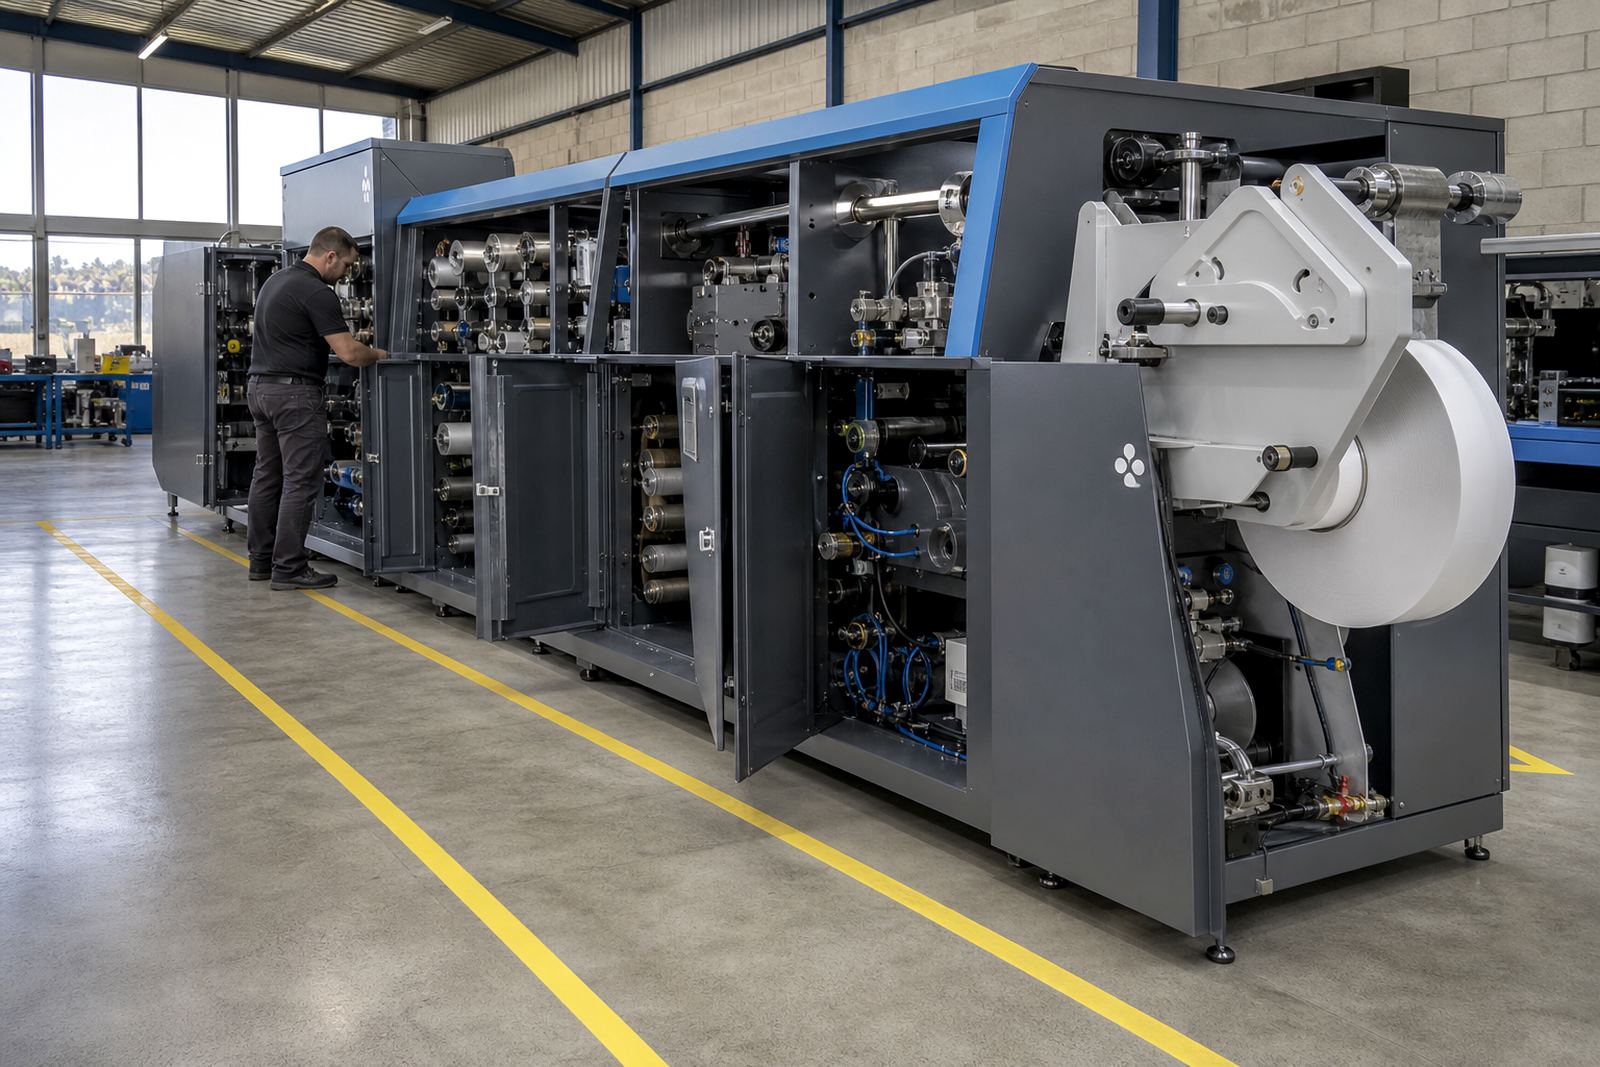
Start with the path the web must follow, not the footprint on a brochure. A line that unwinds, laminates, die-cuts, strips waste, slits and rewinds needs clear entry, steady support and enough room for the roll to travel without sharp turns or awkward handovers.
Measure the full path from the unwind stand to the final rewind point, then add space for threading, operator movement and access to guards, knives and rollers. In a busy print room, the tight spot is often not the machine itself but the metre or two around it where rolls are lifted, cores are changed and waste is removed.
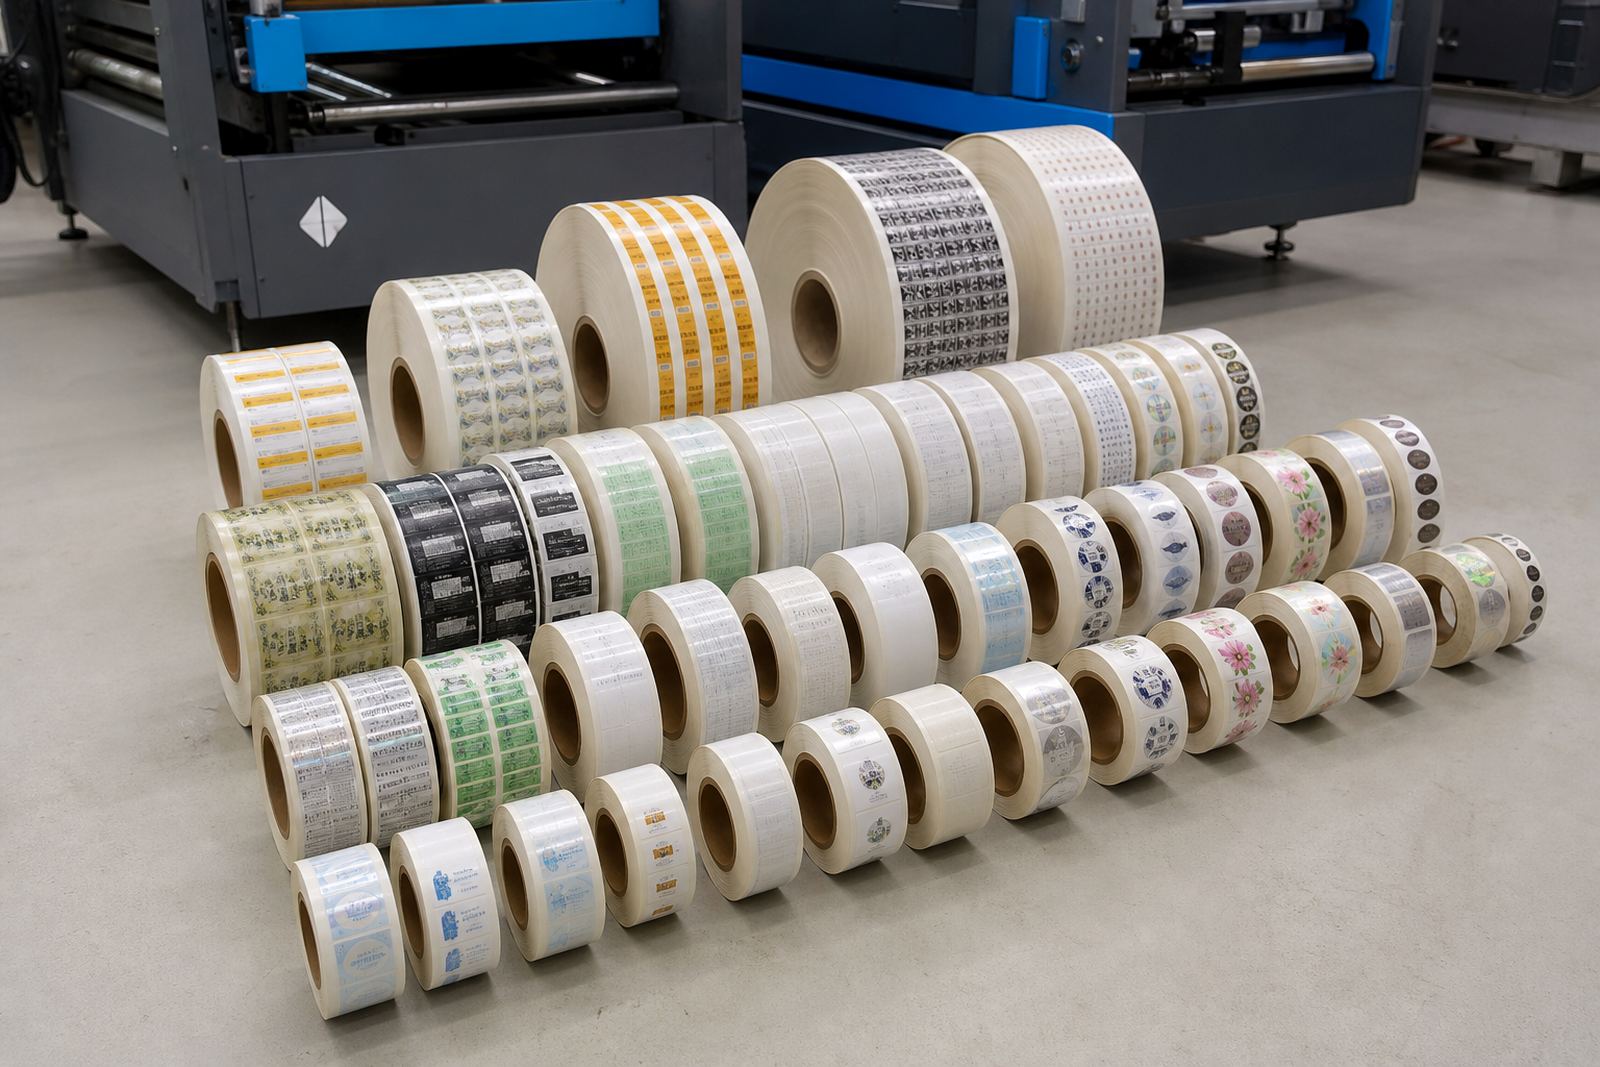
- Check the largest roll diameter and face width you plan to run.
- Allow space for loading the heaviest roll safely.
- Keep the web path straight where possible, with enough clearance for guide rollers and sensors.
- Leave access at both ends for cleaning, inspection and setup work.
Place the line where the material flow already works
Layout works best when the finishing line sits close to the jobs that feed it. If printed rolls arrive from a digital press, position the line so pallets, trolleys or roll carts do not cut across other production traffic. That cuts handling and helps keep registration marks, varnish and laminate in better condition before finishing starts.
Think about where finished rolls leave the area as well. If slitting and rewinding happen in one step, the output may need a separate staging spot for packed reels, labels waiting for inspection, or cores going back into stock. A cramped exit area slows the whole line and creates more manual carrying than a shop floor should carry.
- Keep inbound and outbound roll movement on separate paths where possible.
- Avoid placing the line beside doors that open into traffic lanes.
- Keep dust, paper trim and packing material away from the web path.
- Reserve a small inspection point for first-off checks and sample reels.
Check power, air and floor loading before installation
Even a well planned layout can fail if the building cannot support the machine properly. A finishing line may need stable mains power, controlled earthing and clear access for cabling. Some lines also use air for certain functions, so the room has to allow for those services without trailing hoses across walking space.
The floor should be level and able to carry the machine, the rolls and the operator movement around it. In older industrial units around Randburg, a slight floor slope or an uneven slab can affect web tracking and make setup more difficult than it should be. If the machine has to sit near a shutter door or loading bay, check for vibration, dust and temperature shifts too.
- Confirm the power points and isolation position before the line arrives.
- Check that the floor is level over the full machine length.
- Keep service routes clear for cables, hoses and maintenance access.
- Allow for future additions such as inspection equipment or an extra rewind station.
Build the operator side around real shifts and real jobs
The best layout gives the operator a clean line of sight to the web, the control points and the rewind reels. If the machine includes lamination, laser or semi-rotary die-cutting, matrix stripping and slitting, the operator needs room to watch material behaviour as well as finished reel quality. Good access matters when a job changes from a narrow label roll to a wider packaging run.
Make space for setup tools, core stock, sample rolls and paperwork where the operator can reach them without stepping away from the machine every few minutes. A small waiting area for work in progress also helps when job changeovers are frequent. That part of the room often gets ignored, then becomes the place where trims, offcuts and partial reels start piling up.
- Keep the control side open, not boxed in by racks or stored pallets.
- Allow room for a safe stance during threading and setup.
- Place core stock and tools within easy reach.
- Separate finished reels from incoming material so jobs do not mix.
Allow for registration, waste and rewind handling
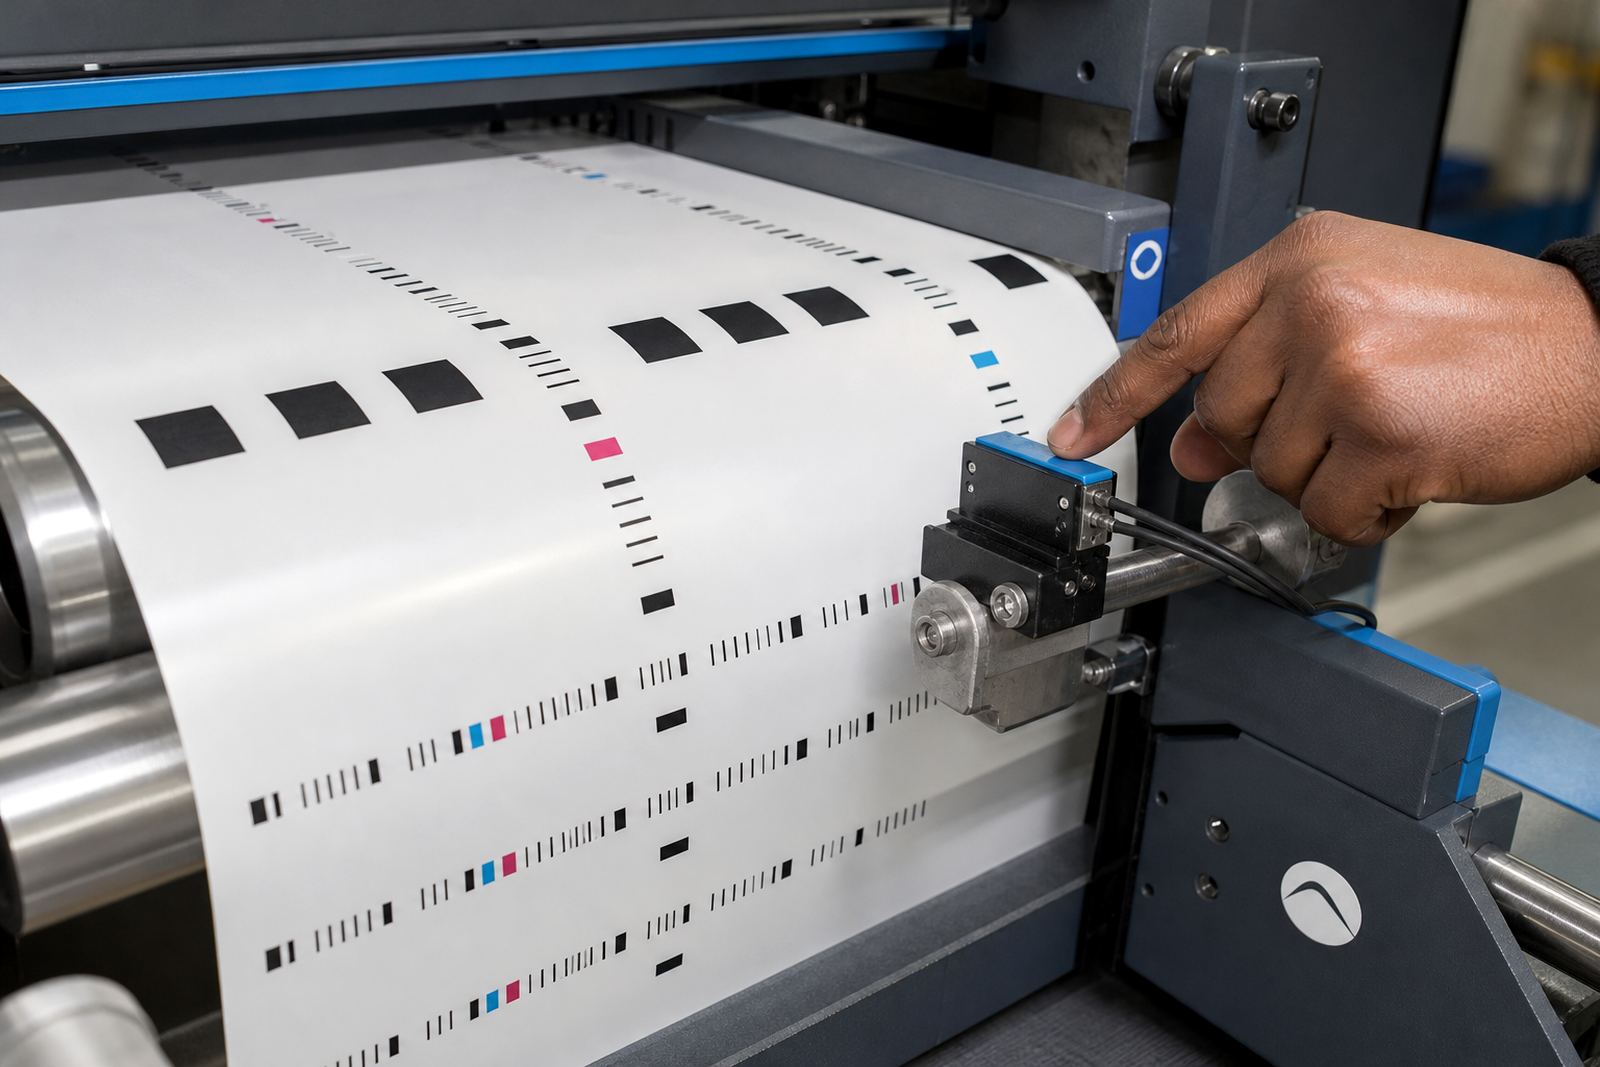
Registration marks and web guidance depend on steady feeding, consistent tension and enough room for fine adjustment. If the line will run printed labels, varnished stock or laminated material, the layout should support accurate setup rather than forcing the operator to work around an awkward angle. A machine that is squeezed against a wall can make small corrections harder and slower.
Waste handling deserves space of its own. Matrix stripping creates trim that must move away cleanly, and slitting can produce narrow edges that need to be managed before rewinding. Leave a clear path for waste collection and for moving full reels out of the finishing area without crossing the active web path.
- Keep the waste exit side clear and easy to clean.
- Leave room for checking registration marks during setup.
- Plan where slit reels and stripped waste will go during a shift.
- Make sure rewind access stays open for core changes and roll removal.
A short site check before the machine lands
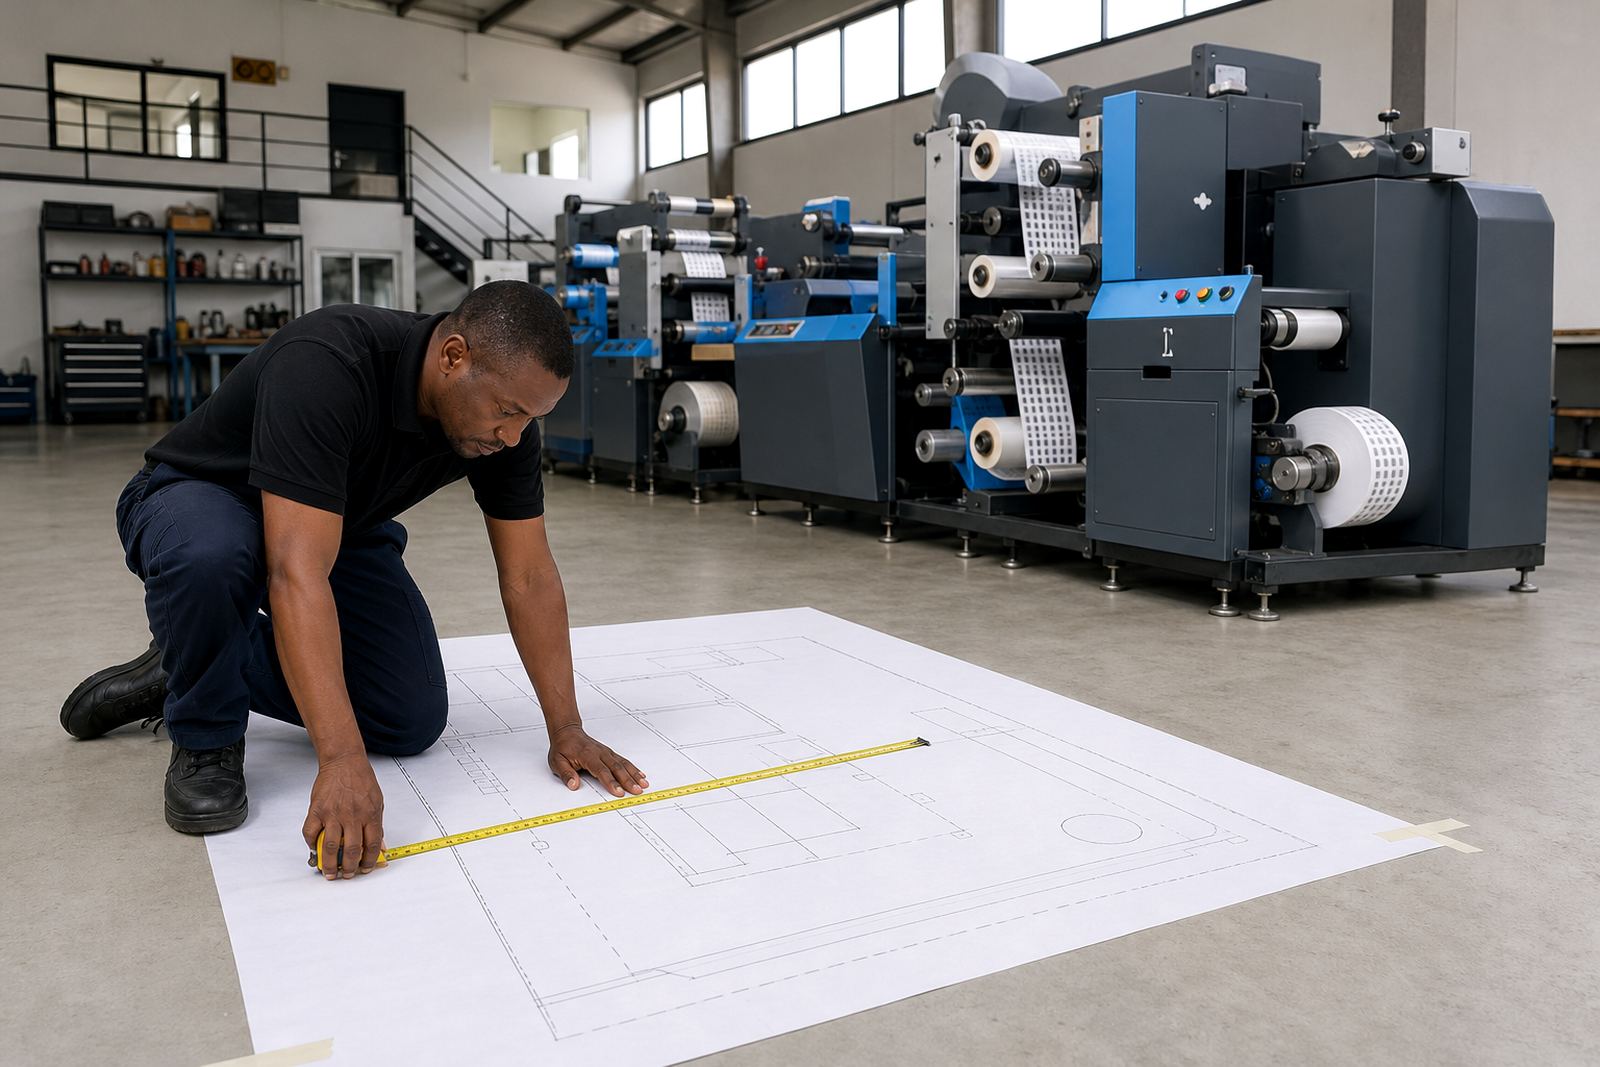
Before installation, walk the room with a tape measure and a clear job list. The easiest layout to live with is the one that matches the stock you run, the floor you have and the handling pattern already used by the team. A line that fits the work now, with a bit of spare room for growth, usually saves more time than one squeezed into the last available corner.
For label printers and packaging producers, that final check should include the largest roll size, the turnaround space for operators, the route to the dispatch point and the access needed for servicing. It is also worth looking at how the line will be cleaned, where spare parts can be stored and how the next job will be moved in without disrupting the current one.
- Measure the full footprint, including loading and exit space.
- Check the route from receiving to installation point.
- Mark service clearances on the floor before equipment arrives.
- Confirm where finished reels, waste and spare cores will sit.