
Start With The Web, Not The Machine
Before anyone talks about knives or rewind shafts, measure the printed web as it really runs. Note the parent roll width, the usable print width, the trim that sits outside the image, and whether the stock has a liner that shifts under tension. A wide web with light film behaves differently from a narrow paper web, and coastal humidity can change how the material tracks in the afternoon compared with a drier morning in Randburg or Pretoria.
For slitting work, the first numbers to write down are simple enough: roll width in millimetres, core size, outer diameter limit, and the number of finished rolls needed from each master roll. If the job mixes repeat lengths, barcodes or variable data, add a note on registration marks and where the slitting lane must sit against the printed image.
Lane Counts That Match The Press Layout
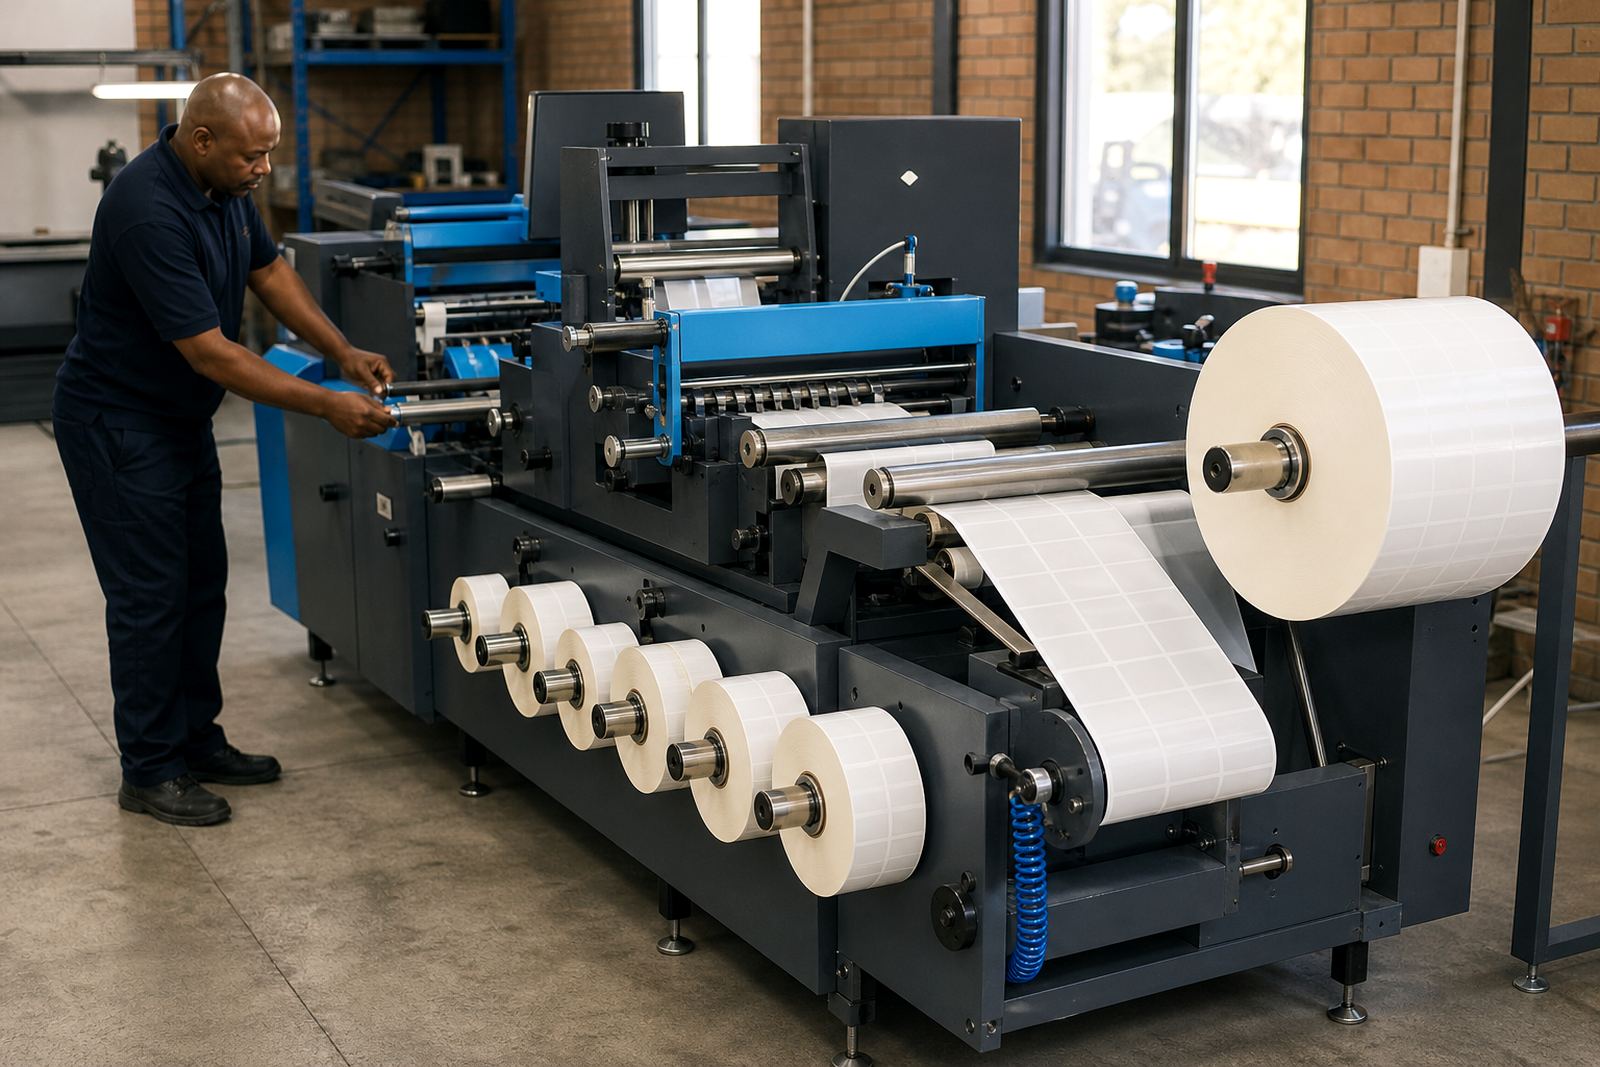
Lane count is where many jobs lose time. A press may print four, six or eight lanes across the web, but the finisher must hold those lanes steady through rewind, strip waste and cut. If the lanes drift, the finished rolls can wander and the labels may not sit square in the carton or dispenser. That is not a cosmetic issue only, it creates feeding trouble at the packing table and at the applicator.
Count the lanes from the artwork, then test how much guard space is needed between them. Some work wants a narrow trim edge, some jobs need more breathing room so the knife does not nick the image. When the web is carrying varnish or laminate, the lane pattern must be set with even more care because coated surfaces can pull differently and leave a slight step at the cut edge.
- Number the lanes from left to right as the web feeds.
- Mark any lane that carries special artwork or a different SKU.
- Check whether the slit rolls must all be the same width or mixed widths.
- Note if the master roll is wound print-out or print-in.
Edge Quality Lives In The Knife Path
Clean edges are not only about sharp blades. The substrate, adhesive, liner and coating all have a say in the finish. Paper usually trims more forgivingly, while some films and laminated stocks can show a slight burr or feather if the knife pressure is set too high. Flexible dies, semi-rotary cutting and laser finishing each leave a different edge character, so the slitting section must be chosen with the rest of the line in mind.
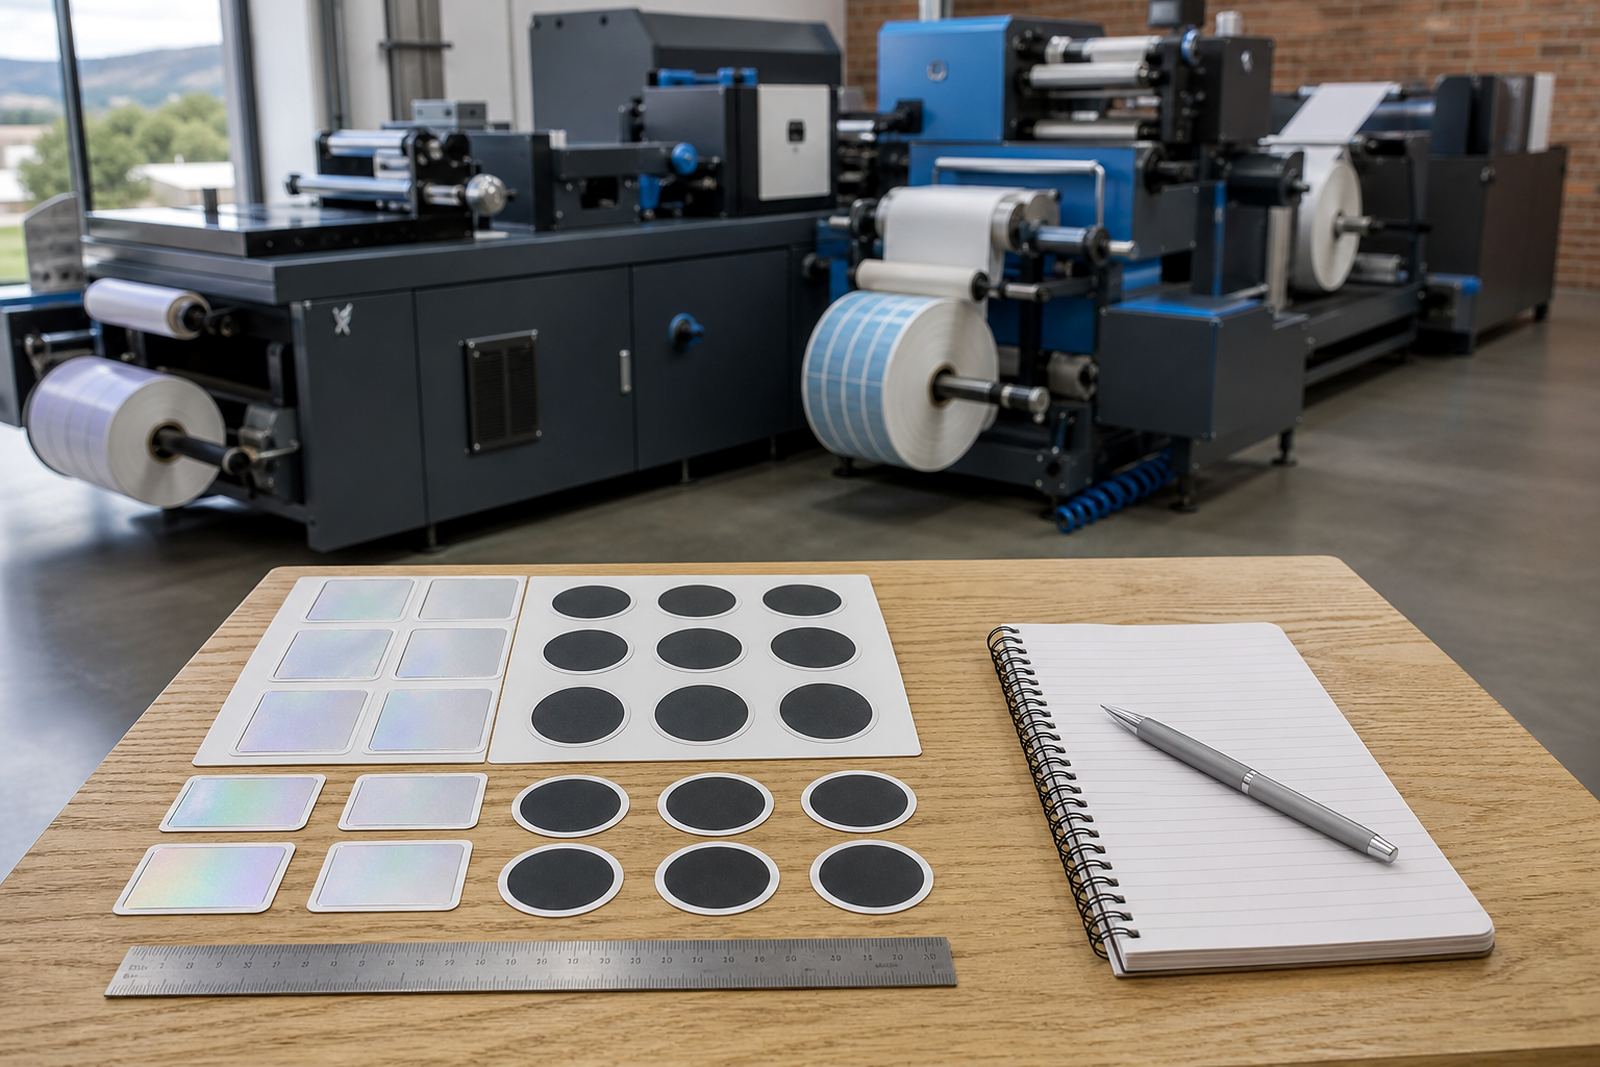
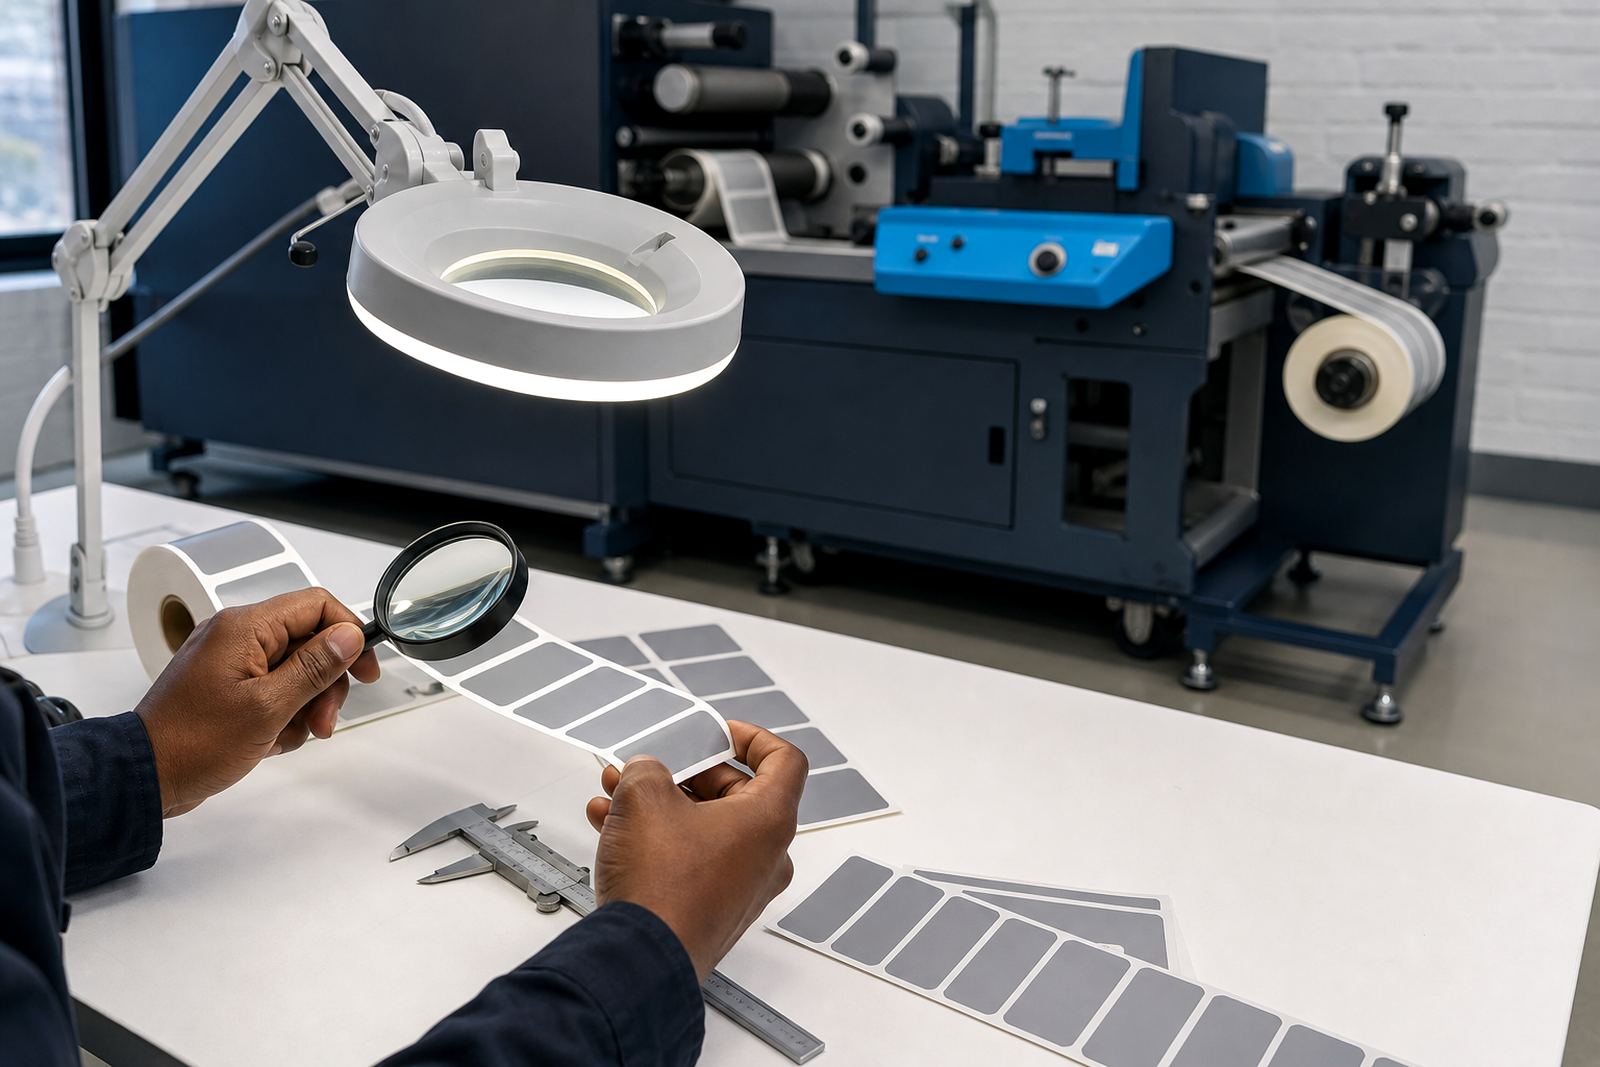
If the edge is ragged, the roll can telescope or dust up during packing. If the knife is too aggressive, the liner may score and the roll starts to split at the core. Set aside samples from the press run and inspect them under the same light used on the floor, because a faint ridge can become a problem once the roll is wrapped and moved through the warehouse. A small typo in the setup note can cost a lot later on.
Rewind Direction, Core Size And Finished Roll Form
Finished roll format should be specified before the line is set. State whether the rolls must be wound face in or face out, the core diameter, the maximum outer diameter, and whether the roll needs tight winding for thermal or inkjet conversion later. Some customers want slim retail rolls, others want heavier production rolls that feed long runs with fewer changeovers.
Rewind tension also matters. A roll that is too loose will collapse at the sides, while one wound too hard can crush the liner and leave the edges proud. Where matrix stripping is part of the line, the take-up must hold the waste steadily or the slit web starts to flutter. If a job moves between Johannesburg and Cape Town, or out to Durban and Gqeberha, the packed roll format should be the same every time so the warehouse team does not need to guess.
- Core size: 25 mm, 40 mm or 76 mm, depending on the press and dispenser.
- Outer diameter limit: set this before production starts.
- Winding direction: face in or face out.
- Packing method: single roll, paired rolls or boxed sets.
When Slitting Must Follow Lamination Or Varnish
Many label lines now carry lamination, varnish or protective coating before the slit step. That changes friction, grip and edge behaviour. A laminated web can resist the knife a little more, while varnished stock may hold heat differently and shift at the unwind. The machine setup must allow for that extra stiffness, otherwise the lane wander shows up late in the run.
For these jobs, check the registration marks against the slit path and confirm whether the cut should sit inside or outside the print edge. If the machine also handles slitting setup after die-cutting, the operator should know where the matrix ends and where the finished roll begins. On some jobs the waste strip is narrow and needs careful tension, so the strip does not break and wrap around the rewind shaft.
A Plain Spec Sheet That Saves Floor Time
A good slitting brief is short, but it must be exact. It should tell the technical team what the web is, what the lanes are, how the roll must finish and what the edge must look like. Leave out vague notes like neat finish or standard roll size. Those words mean different things on different floors, especially where packaging producers handle more than one substrate in a day.
Use this as the working list when specifying a new job:
- Substrate type and thickness.
- Web width and usable print width.
- Lane count and lane widths.
- Registration mark position.
- Finished roll direction and core size.
- Maximum outer diameter.
- Need for lamination, varnish or matrix stripping before slitting.
- Any edge quality concerns, such as feathering or liner score.
Once those points are clear, the setup team can plan the knife layout, rewind order and waste path without guessing. That is the difference between a line that just runs and a line that keeps giving the same result across shifts in Randburg, Midrand or Kempton Park.
During Setup, Watch The First Three Rolls Closely
The first three rolls tell the truth. Check width, edge condition, tension and core alignment before the run moves on. If a roll drifts even slightly, the issue usually sits in the knife spacing, the web guide or the tension profile. Do not let the line continue on assumptions, because a small offset can keep repeating through the rest of the batch.
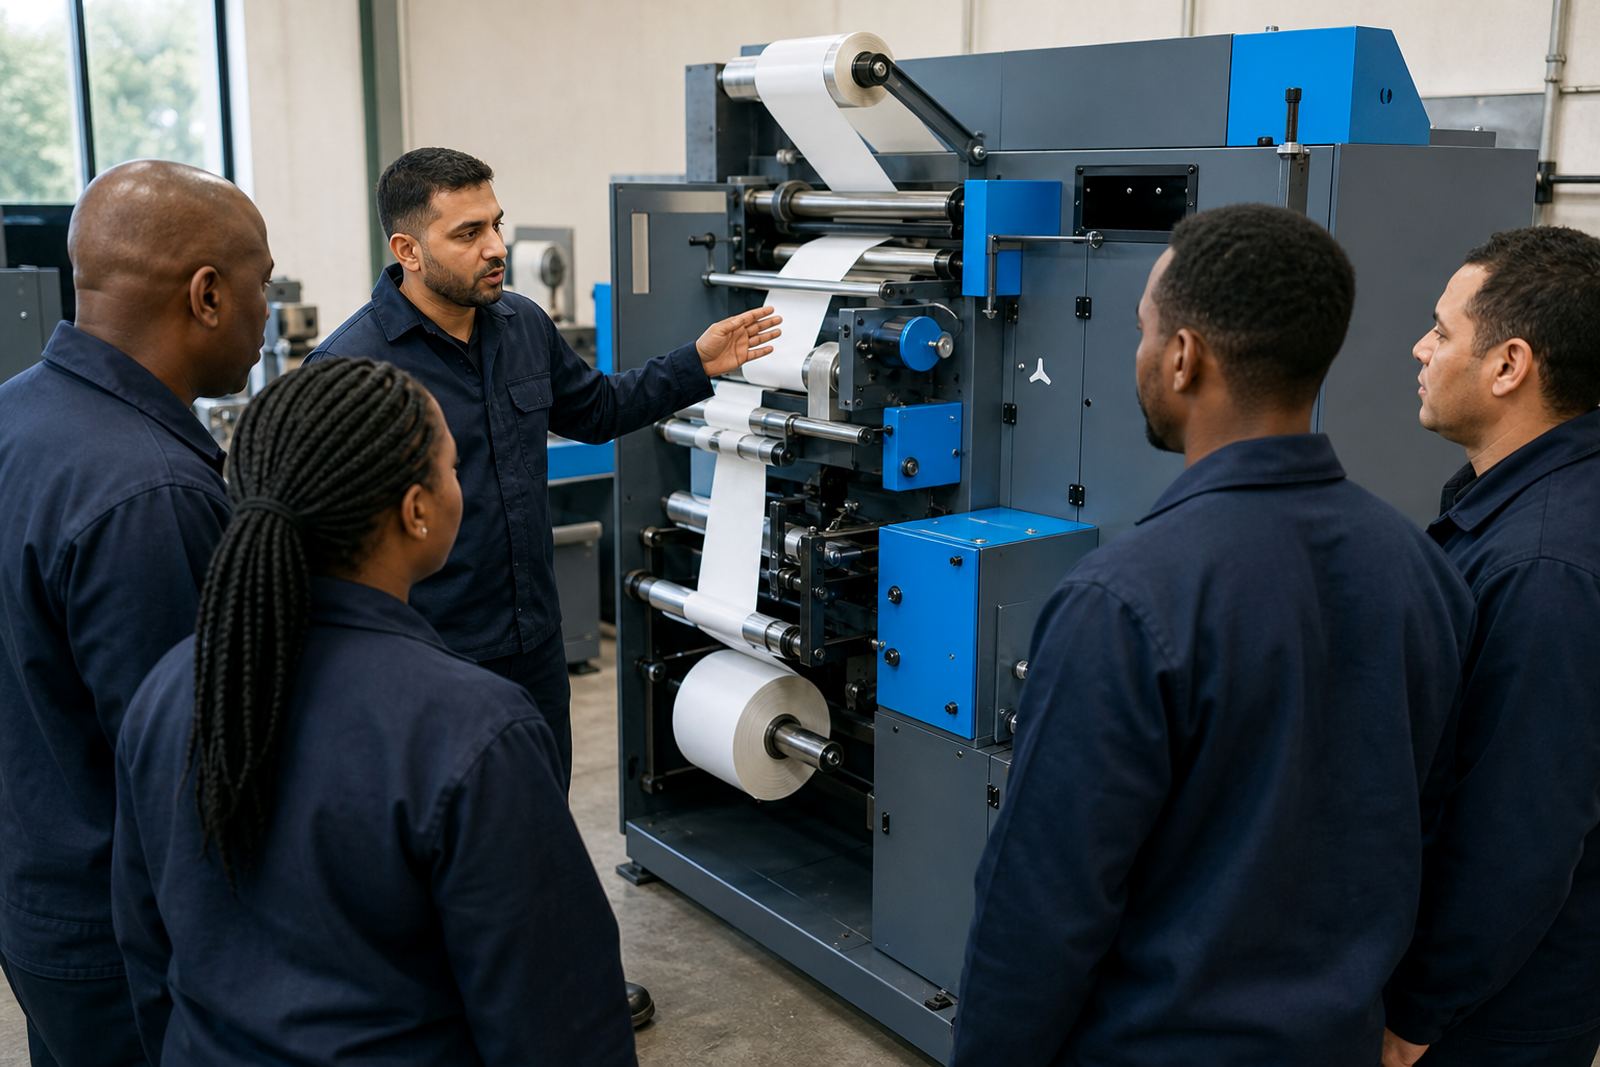
Our team works with machine installation, line commissioning, operator training and breakdown repairs for digital label finishing lines, including slitting and rewinding sections. Where a job needs preventive maintenance or spare parts supply, the same setup notes make servicing easier later on. A clear spec sheet also helps when a customer needs remote support and the floor team has to describe what the web is doing without any room for guesswork.