
Where slitting dust starts to build
Most dust around a slit section does not begin at the knife alone. It shows up where web tension is uneven, where the blade edge is tired, and where trimmed edge scrap rubs against guides before it clears the machine.
On narrow label webs, a small amount of fibre lift can spread through the full path. Films behave differently from paper stocks, but both can leave fine particles if the slit pressure is too high or the path is not set square. In humid coastal conditions, dust can cling to parts that should stay free running, so the problem often looks worse near Durban and Gqeberha than it does inland.
Housekeeping that matters at the machine
A tidy area around the slitter is not about appearances. It reduces the chance of trim offcuts wrapping around shafts, and it keeps loose dust from getting pulled into rewinding rolls or trapped under covers.
- Vacuum the floor around the machine, not just the top surfaces.
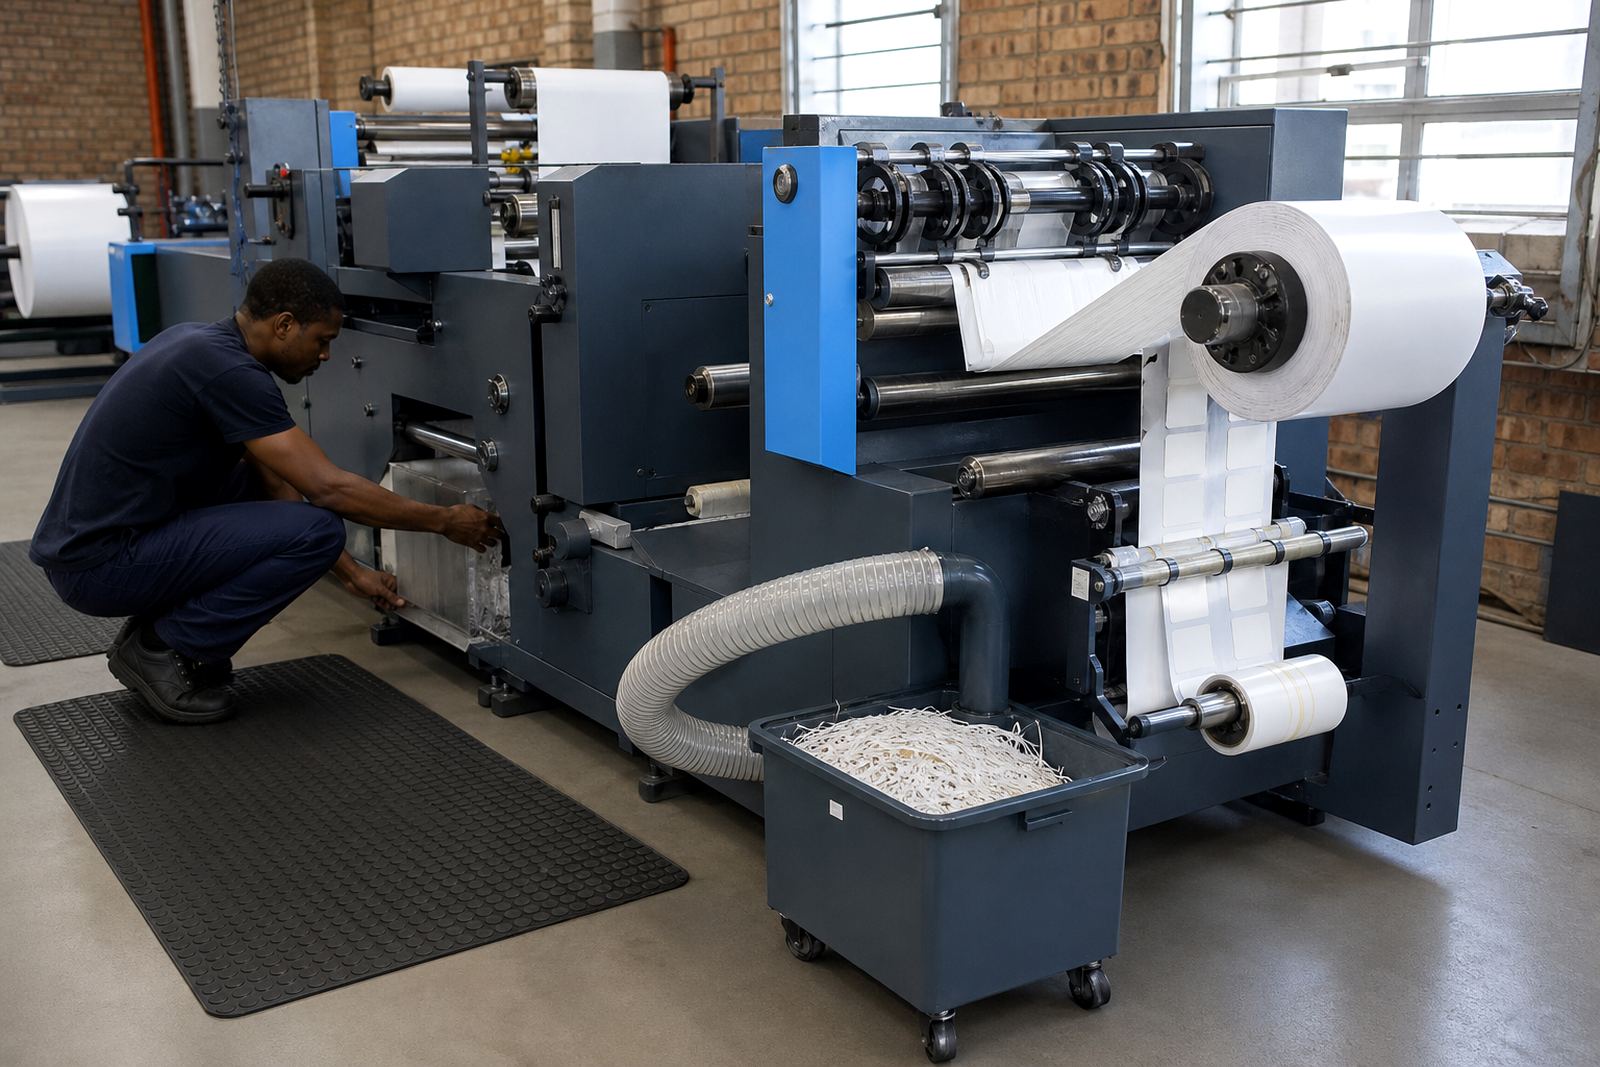
- Clear waste bins before they overflow and shed trim back onto the line.
- Wipe guide faces and rollers with a lint-free cloth, then check for residue.
- Keep boxes, core packs and open cartons away from the slit path.
- Store cleaning cloths and small tools in one place so they do not scatter near the unwind.
Simple habits save time later. A scrap strip that hangs for a few metres can throw fibres across a full roll, and that extra dust ends up on sleeves, sensors and rewind edges.
Knife condition and setup are usually the turning point
Dust is often a symptom of the cut, not the cure. A blunt or poorly aligned blade tears more than it shears, which creates fine debris and rough edge carryover on the finished roll.
Check blade wear before the edge starts scoring the web. Set pressure only as high as needed for a clean slit, then recheck after changing stock weight, adhesive type or liner thickness. If the cut is too aggressive, the machine can make dust from a job that should have stayed clean.
- Match the knife setting to the actual label face stock and liner combination.
- Check lateral alignment so the knife tracks in the same line across the run.
- Inspect anvils, shafts and spacers for build-up or uneven wear.
- Watch the edge quality on the first metres and not only at the end of the roll.
Dust control in the rewind path
Rewind is where many shops first notice the issue. Dust that escapes earlier can settle on the winding roll, then transfer into the next handling step or stick to the roll edge as pressure increases.
Keep rewind tension steady and avoid sudden changes that squeeze the web too hard. If the roll is wound too tightly, the dust gets pressed deeper into the pack. If it is too loose, the edge can flutter and shed more fine particles. Good rewind setup also protects registration when the slit web must remain tight enough for later inspection or overprinting.
For shops running mixed work, a narrow web on one job and a wider format on the next may need different core support or lay-on pressure. That is normal, but the settings should be written down so operators do not guess under pressure.
Film, paper and varnish each leave a different trail
Not every dust problem looks the same. Paper-based labels usually leave more loose fibre, while some films create a sharper, static-driven residue that settles on nearby parts. A varnish layer can also change the way the blade behaves, especially if the coating is thick or the print sits close to the slit line.
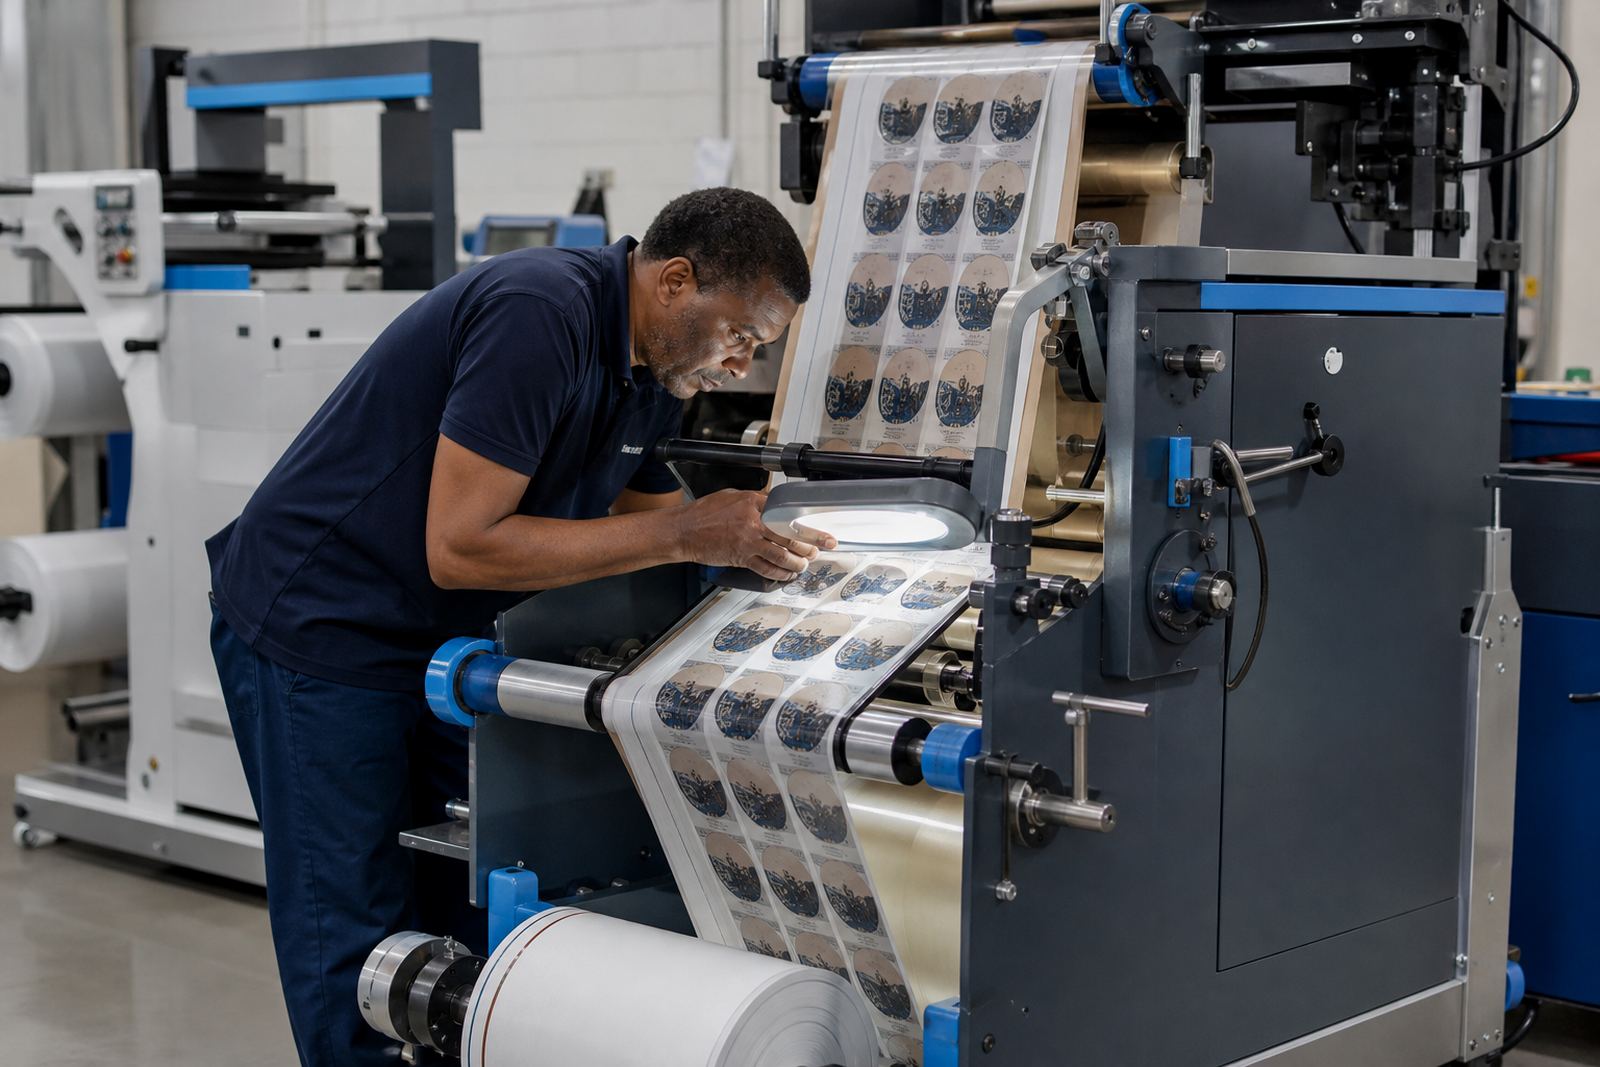
When a job has a heavy coating or a laminated face, test the slit on a short sample before committing to the full roll. The edge should be clean, with no feathering, no drag marks and no extra dust on the lane. If the finish changes after the first few metres, recheck registration marks and blade pressure rather than assuming the material is at fault.
In practice, the cleanest setup is usually the one that respects the stock rather than forcing one setting across every label job.
A Kya Sand example from a mixed label line
A packaging producer in Kya Sand was running short label rolls for food and household packs, with slit widths changing through the shift. The team had dust building at the rewind and fine residue collecting around the guide path, which then showed up on the next inspection pass.
The fix was not a single part. The unwind brake was adjusted, worn knives were replaced, trim clearance was opened slightly and the waste path was cleaned out more often during the run. After that, the operator kept a written setting note for each stock type, including tension, slit width and rewind pressure. That kind of record is plain work, but it helps when the line is busy and the next job starts before the last one is fully packed away.
For a shop in Randburg or Midrand, the same method holds. The machine needs a clean path, a sharp edge and a stable rewind, otherwise dust will find a place to sit.
Servicing points that keep dust from creeping back
Once dust starts returning, the machine often needs more than a clean cloth. Preventive maintenance should include bearing checks, shaft alignment, blade condition, vacuum or extraction points where fitted, and the general state of guards and covers.
- Check waste removal routes for kinks, blockages or torn trim.
- Inspect static-prone areas where fine dust clings to film webs.
- Review slit width settings after any change in substrate or roll size.
- Look at guide wear if the same side of the web keeps shedding.
- Confirm that operator notes match the settings on the machine, not guesswork.
That approach saves on spoilage and keeps the finishing line calmer. It also makes training easier, because operators can see what changed and why the dust dropped off.