
A Randburg line that had to do more in one pass
The client was a digital label printer in Randburg serving retail and industrial work across Gauteng. Their existing setup could print well, but finishing was the bottleneck, with extra handling between each stage creating waste and awkward roll changes.
The brief was to add inline lamination, die-cutting, matrix stripping, slitting and rewind capability in a compact footprint. The line had to cope with self-adhesive label stock, varied face materials and repeat jobs that relied on reliable registration marks. Roll handling had to stay tidy, because the printer was running mixed widths and changing job sizes through the week.
- Client type: digital label printer
- Town: Randburg
- Finishing scope: laminate, die-cut, strip waste, slit and rewind
- Web control: stable tension and accurate register tracking
The practical limits on the floor
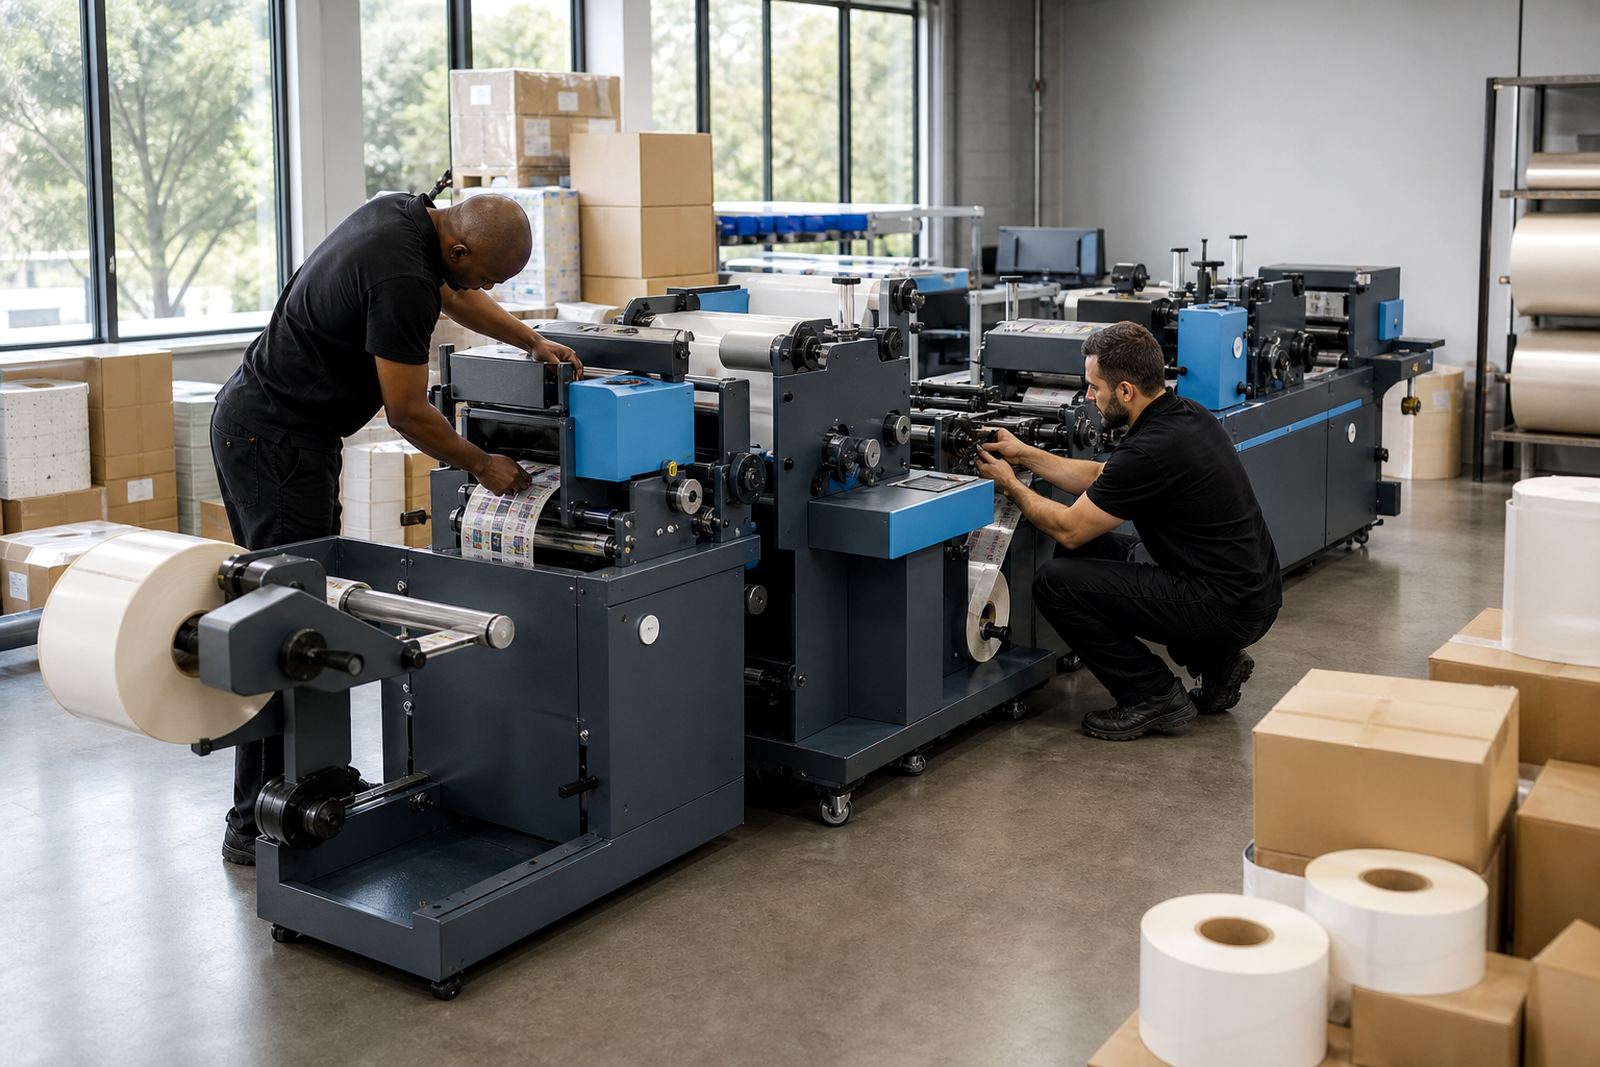
The room was tight and the machine had to sit in line with the printer without forcing awkward operator movement. There was enough space for a proper unwind section, but the layout had to keep the web path short and easy to inspect. Heat, humidity and dust were part of the normal industrial conditions, so the machine needed solid guidance and smooth rollers rather than a fragile setup.
We also had to keep the finishing side usable for different job types. Some labels needed a laminate overprint layer, some needed a clear varnish-like protection step, and others needed only die-cutting and rewind. The operator team wanted one line that could be set up without a long changeover routine.
- Compact footprint to fit the existing print room
- Short web path for better control
- Suitable for mixed label jobs and repeat runs
- Built for regular operator adjustment, not constant stoppages
What we supplied and set in place
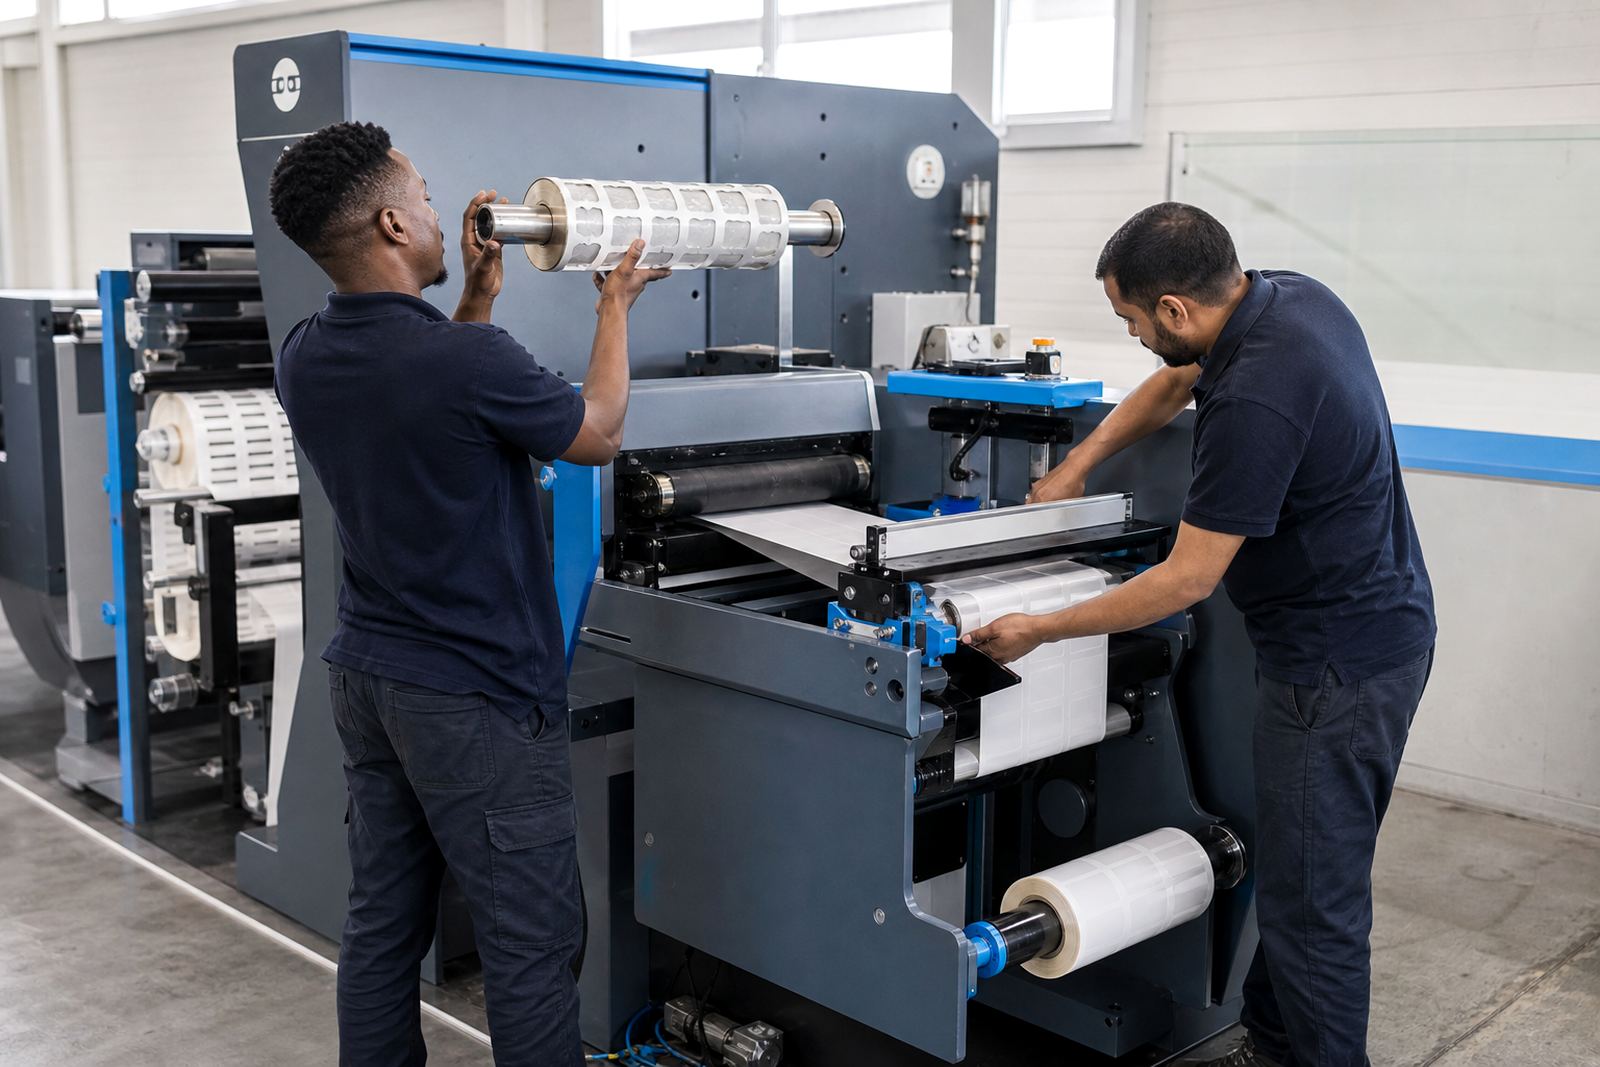
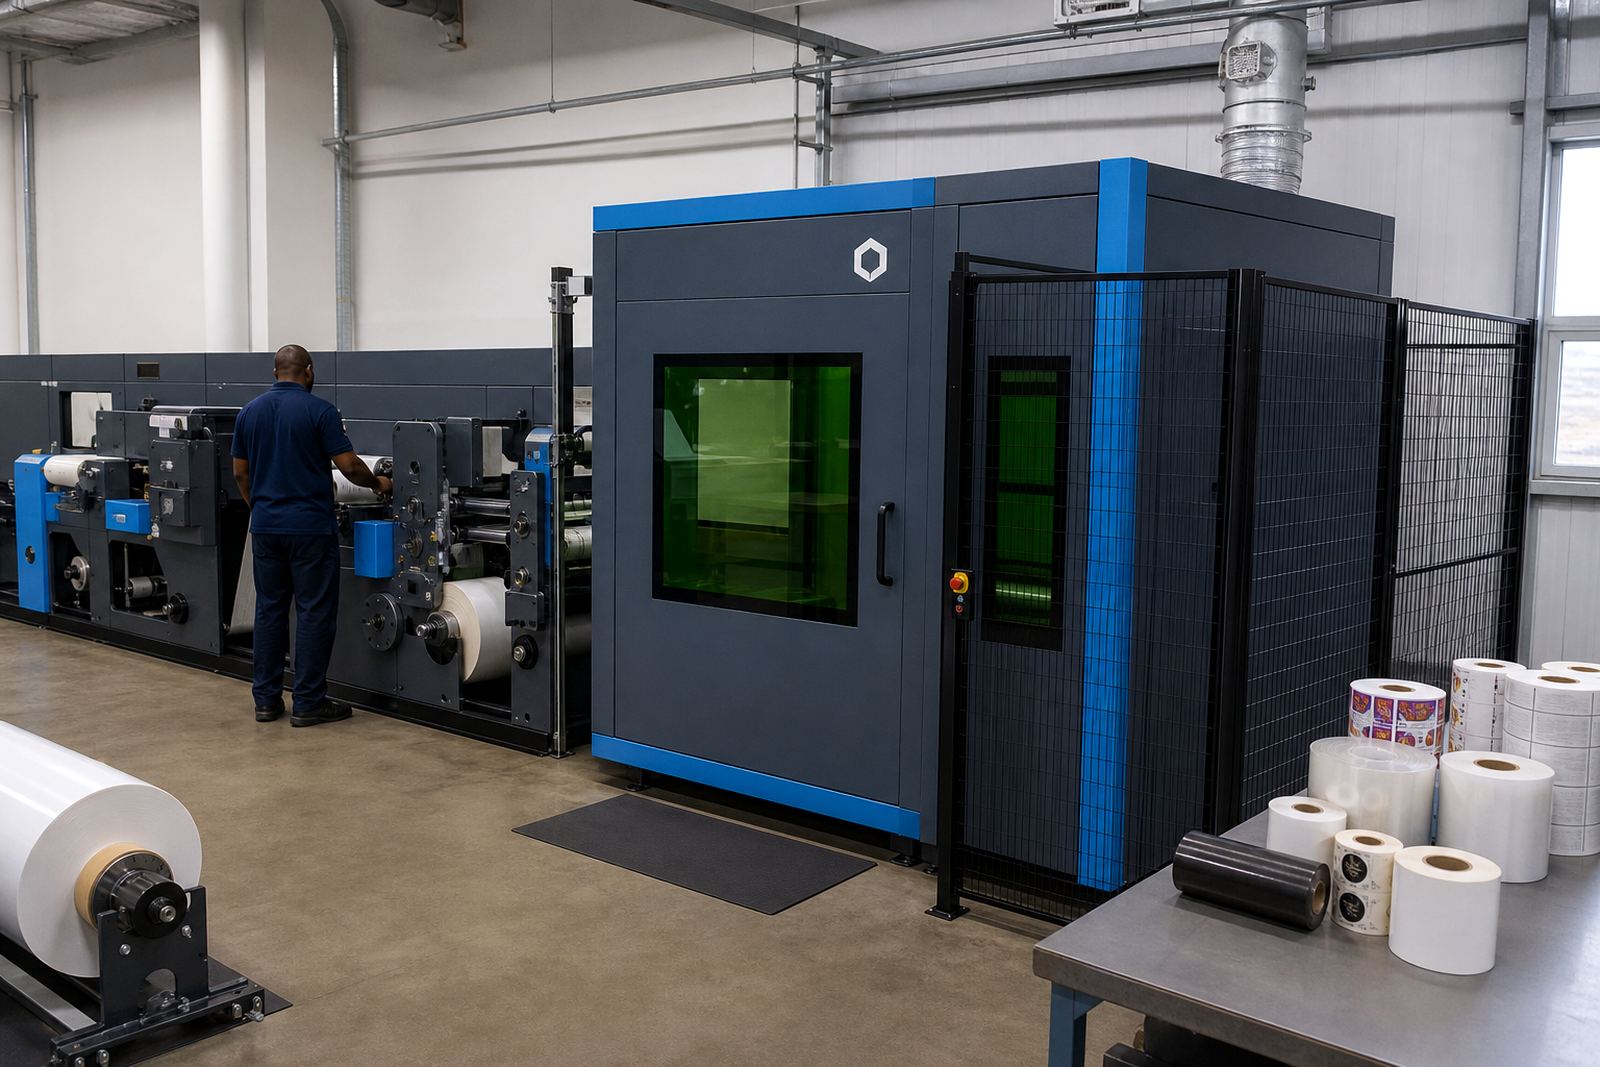
We supplied and installed a digital label finishing line with unwind, laminate, die-cut, waste strip, slit and rewind sections. The die-cutting side was set up for digital labels using either semi-rotary tooling or flexible dies, depending on the job structure and material build. That gave the printer the option to run more than one finishing method from the same line.
Registration calibration was set so the printed marks stayed aligned through the cut. We also tuned the rewind section to keep finished rolls even and firm, without crushing the edge of the label web. Slitting blades were positioned for narrower roll formats where the customer needed split output from a wider print width. It all had to track cleanly, not just on the first test roll but through a proper production run.
- Unwind section for stable feed from printed rolls
- Inline lamination for protective top layers
- Die-cutting set for flexible dies and semi-rotary work
- Matrix stripping for clean waste removal
- Slitting and rewind for finished roll output
Commissioning over three working stages
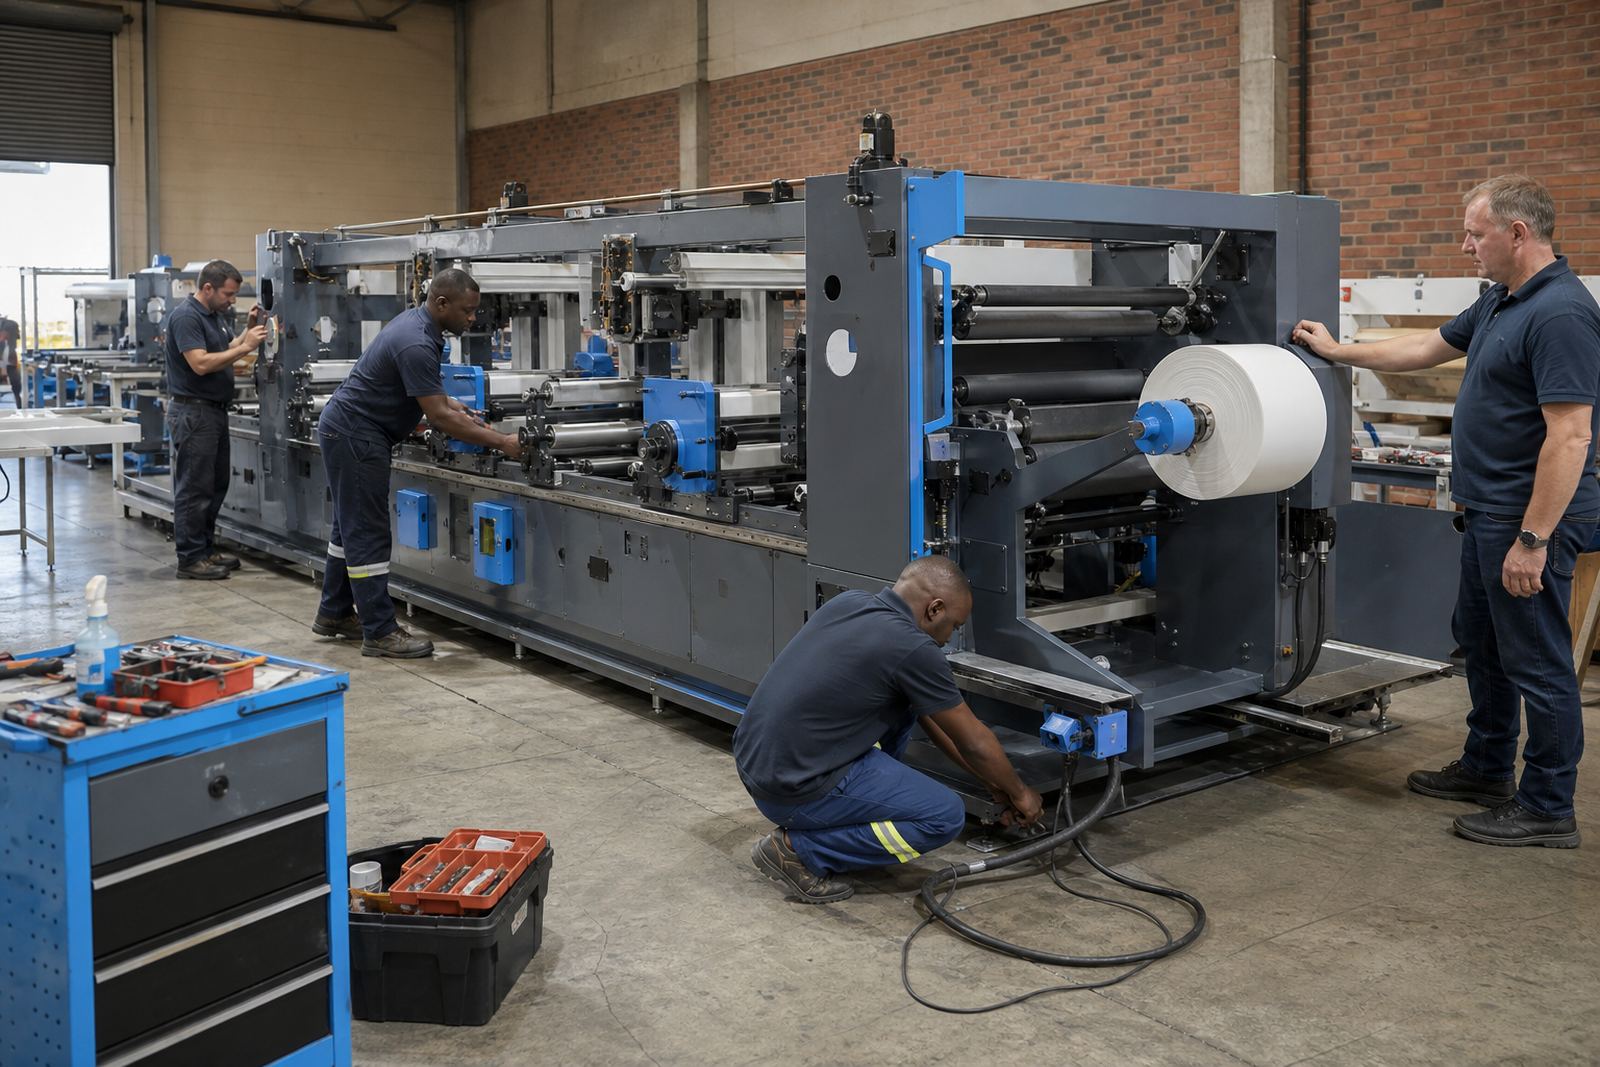
The install and commissioning ran over three weeks. The first stage covered placement, alignment and web threading. The second stage focused on die registration, tension control and lamination tracking. The final stage was used for live production checks with the client’s own label stock, including narrower rolls and jobs with heavier ink coverage.
We stayed close to the finishing details that affect daily use. The operator had to be able to set the web path, check the cut depth, watch the matrix strip and confirm that the rewind tension stayed even. It is the sort of job where small errors show up fast, so the setup had to be measured and practical, not rushed.
- Week 1: machine placement and alignment
- Week 2: registration, web control and lamination setup
- Week 3: live checks on customer stock and output formats
Training for the people running the line
Musa Wessels handled operator training with the floor team, while Pieter Pienaar worked through the mechanical and control settings with the maintenance side. The training covered die setup, reel loading, slitting positions, rewind firmness and the signs that tell an operator a roll is tracking out of line. That part matters, because a clean installation only holds its value if the people on shift can keep the line behaving the same way.
We also went through basic production habits that help on busy label runs. The team was shown how to watch registration marks during start-up, when to check the laminate feed, and how to spot waste build-up before it starts affecting the cut edge. It was hands-on, with the machine running while the crew worked through each setting.
- Operator training on die setup and registration marks
- Rewind and slitting setup for different roll widths
- Maintenance familiarisation for the technical team
- Production habits for cleaner starts and steadier output
What changed after the job was running
The finished line gave the printer a cleaner path from print to packed roll. By bringing lamination, die-cutting, waste strip, slitting and rewind into one flow, the team reduced handling and kept more jobs inside the same room. The rolls came off neater, the cut position held better and the operators had fewer awkward handovers between stages.
The result was not only faster processing, but better consistency on mixed work. Short runs, wider labels and repeat jobs could all move through the same finishing line with less fuss. For a printer in Randburg handling real production pressure, that matters more than any grand description. The line now supports normal day-to-day label work without forcing a separate finishing step for every job.
- Cleaner roll output after finishing
- Less manual handling between stages
- Better control on short and repeat label runs
- More work completed in one production line
What we would carry into the next install
We would use the same approach again on a similar label project: measure the web path early, check the label stock mix before setup and keep the first production run focused on registration and rewind behaviour. Those are the details that decide whether a finishing line feels easy to use or awkward to live with.
For a digital label printer, the finishing side has to match the pace of the print side. That is where lamination, semi-rotary die-cutting, matrix stripping and slitting need to work as one continuous process. When the machine is set up properly, the operator spends less time correcting the line and more time making useful rolls for dispatch.
- Measure the available space before machine placement
- Check the stock range against the cutting method
- Set registration and rewind behaviour during live testing
Key facts
| Project | Randburg printer install |
|---|---|
| Town | Randburg, Gauteng |
| Machine type | Digital label finishing line |
| Functions added | Lamination, die-cutting, matrix stripping, slitting, rewind |
| Cutting methods | Semi-rotary tooling and flexible dies |
| Commissioning | 3 weeks |
| Scope | Installation, operator training and servicing support |