When transparent stock starts showing every fault
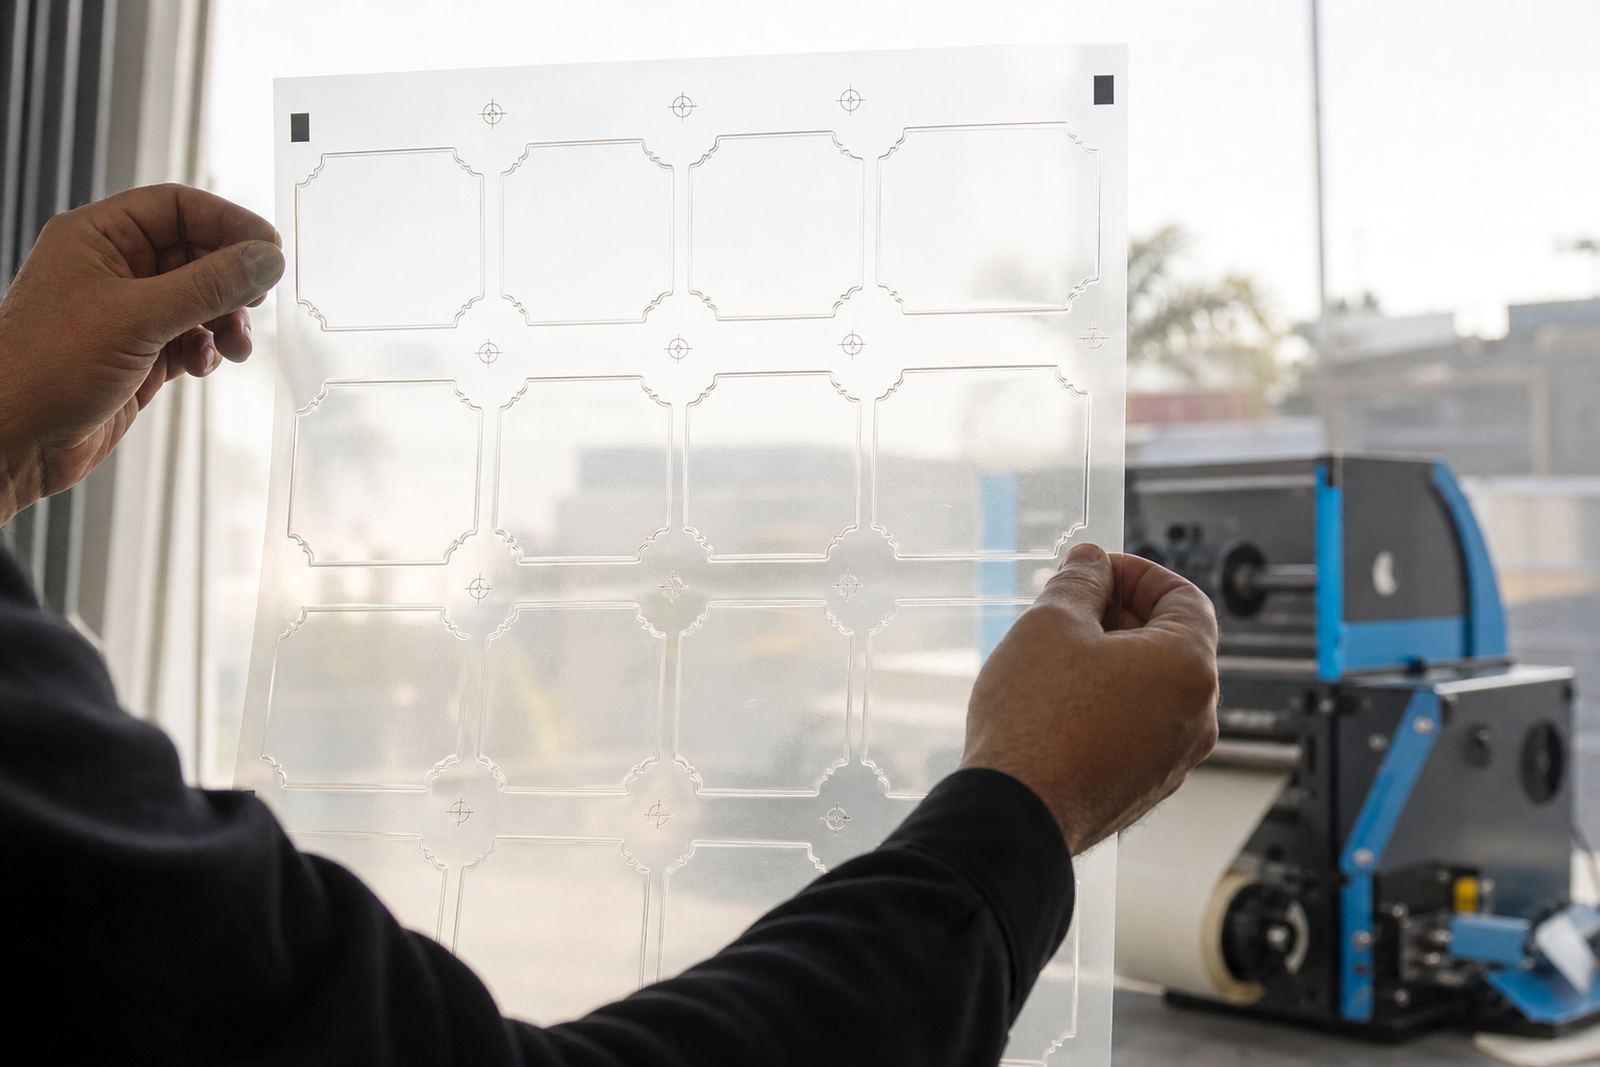
Clear films are unforgiving. A small shift in web tension, a loose registration mark or a dull die can show up as a crooked edge, cloudy laminate lift, or waste that hangs back and snatches the next label. On PET and other transparent stocks, the final roll must look tidy from the first label to the last, because any smear, edge curl or nick is easy to see once the product is bottled, boxed or wrapped.
That is why this use case is about more than cutting shape. The finishing line must control unwind, guide the web, laminate if needed, keep print-to-cut register stable and remove the matrix without roughing up the label face. Where the labels are small, clear and closely spaced, slitting and rewinding need the same care as the die-cut stage.
A sensible line-up for clear film labels
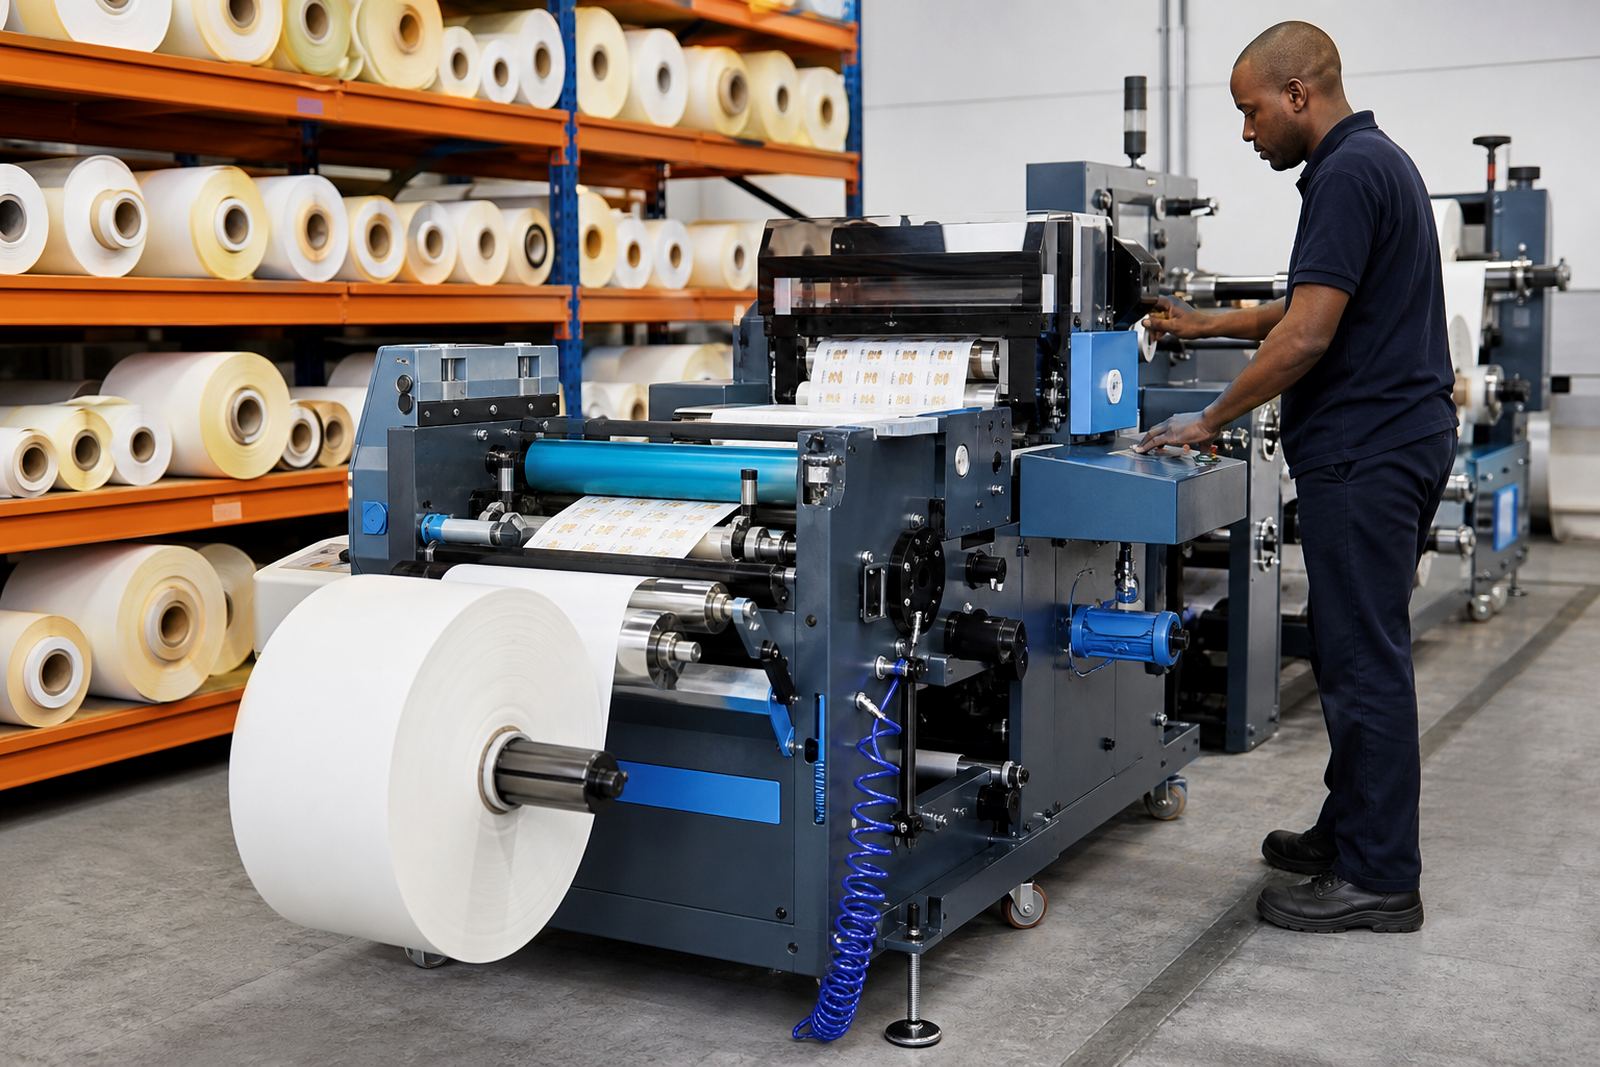
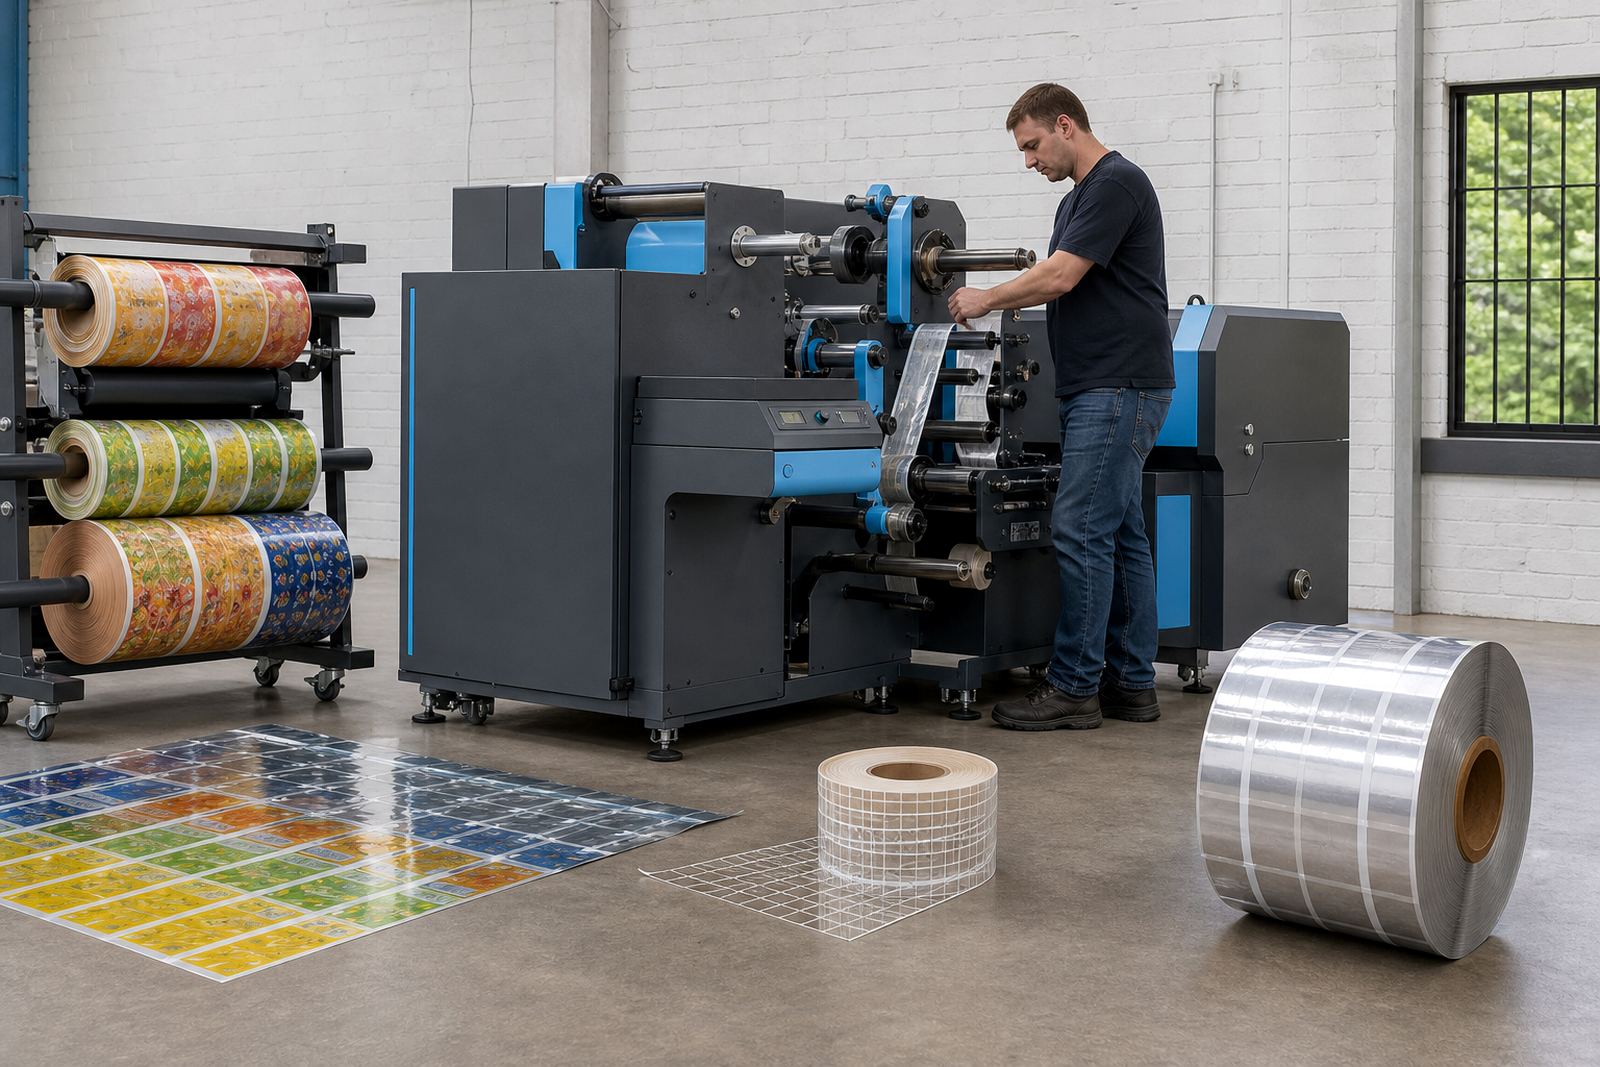
Most clear label jobs work best on a line that starts with a stable unwind, then moves through lamination or varnish if the job needs extra surface protection, then into die-cutting, matrix stripping, slitting and rewinding. The exact order can vary by press format and label shape, but the aim stays the same: keep the web flat and easy to track, even when the face stock is thin and the liner is light.
- Unwind and web guiding for consistent travel through the machine
- Laminate station for extra scuff resistance or better surface hold
- Laser or semi-rotary die-cutting for accurate shape control
- Matrix stripping to remove waste without stretching the film
- Slitting for multiple lanes or smaller finished rolls
- Rewinding with even roll build and controlled tension
Registration marks matter more here than on many paper jobs. Clear material can make contrast harder to read, so the print layout and sensor setup need to be planned with that in mind. If the artwork uses fine outlines or transparent panels, the cut path has to respect those zones and avoid placing pressure where the label will show through on pack.
Planning the layout before the first roll runs
For label printers in Johannesburg, Pretoria or Durban, the most useful planning step is to match the finishing line to the real mix of work. A shop handling short decorative runs will not need the same setup as a packaging producer doing longer runs with several label widths. Roll diameter, core size and web width all need checking against the press output and the finishing route, because a clear film label can react badly to static and slack if the roll is too loose.
In many rooms the practical layout includes a clean transfer path from print to finish, enough space for the waste edge to travel without snagging, and a rewind area that leaves room for changeovers. If lamination is part of the job, the operator also needs an easy path for film alignment so the laminate does not trap bubbles or pull the print out of register. There is no room for guesswork on this kind of work, especially when the label face must look spotless under bright retail lighting.
The machine footprint should leave access to the knife stations, stripping area and rewinds. Service access matters too. When a slit knife dulls or a sensor drifts, the line should be easy to inspect without pulling the whole set-up apart.
Where clear film jobs go wrong on the floor
Most trouble starts with tension that is too high or too uneven. Transparent film can stretch just enough to throw the cut line off, and then the waste web tears in the wrong place. If the web path is not square, the edge may wander and the rewind ends up telescoping or marking itself.
- Loose registration setup that lets the cut drift across the roll
- Waste stripping that is too aggressive for thin clear film
- Blade pressure set higher than the film actually needs
- Static build-up that pulls small labels off line or lifts the waste
- Poor slitting setup that leaves burrs, frayed edges or uneven lanes
- Rewind tension that marks the roll or creates a soft centre
Another common mistake is treating clear film like a paper stock with a gloss coating. The behaviour is different. A film label needs a calmer web path, cleaner cutting action and close attention to the condition of the matrix. If the waste strip is too narrow, it can snap. If it is too wide and too loose, it can fold into the knives or wrap around the rewind.
Installation and operator training that fit real production
Installation is not only about placing the machine and switching it on. It includes web routing, register setup, knife alignment, rewind setting and a working process for the first production runs. For clear film, the operator training has to cover tension changes, sensor reading, waste handling and how to spot early signs of edge damage before a whole roll is affected.
Our team supports machine installation, line commissioning, operator training, preventive maintenance, breakdown repairs, remote support, spare parts supply, die setup help, registration calibration, rewind setup, slitting setup and production optimisation. In practice that means the line is set for the label mix in front of it, not for a textbook job that never appears on the floor. The same machine can behave very differently on 25 mm promotional labels and on larger clear sleeves or wraparound labels.
For packaging producers in Cape Town, Gqeberha or Midrand, training also needs to include housekeeping around dust, adhesive build-up and film storage. Clear stock shows handling marks quickly, so the roll room and finishing area should stay neat and dry. Coastal humidity can affect some adhesives and the feel of the matrix, so storage and staging need the same care as the machine settings.
Budget bands for clear label finishing lines
Budget depends on format, automation level, web width and whether the line needs laser cutting, semi-rotary tooling, extra lamination, multi-lane slitting or more advanced rewind control. A smaller finishing set-up for light label work may sit in a different band from a wider line built for regular production and tighter register control.
- Entry-level finishing and slitting set-ups: about R450,000 to R900,000
- Mid-range digital die-cutting and finishing lines: about R900,000 to R2,000,000
- Higher-spec systems with more automation and broader width handling: about R2,000,000 to R4,500,000 plus
Those ranges shift with accessories, commissioning scope and the production target. Spare parts, flexible dies where needed, registration sensors and rewind options can move the total quite a bit. It helps to match the machine to the actual roll sizes, label widths and job frequency rather than building around an optimistic weekly volume that never arrives.
What clear film production needs from the floor
Clear labels reward calm, disciplined finishing. The machine must hold the web, the waste must stay manageable, and the rewind needs to look as good as the printed face. When the setup is right, transparent labels can move through the line without edge damage, loose matrix or crooked roll build, and the finished reels are ready for packing or dispatch without extra sorting.
Label-Cutter works from Kya Sand in Randburg and supports label printers and packaging producers across South Africa, including Johannesburg, Pretoria, Durban, Cape Town and Gqeberha. Our contact form is the usual route for new enquiries, and the discussion can focus on the stock type, roll width, label shape and finishing sequence that the job actually needs.
Practical checks before a clear film run starts
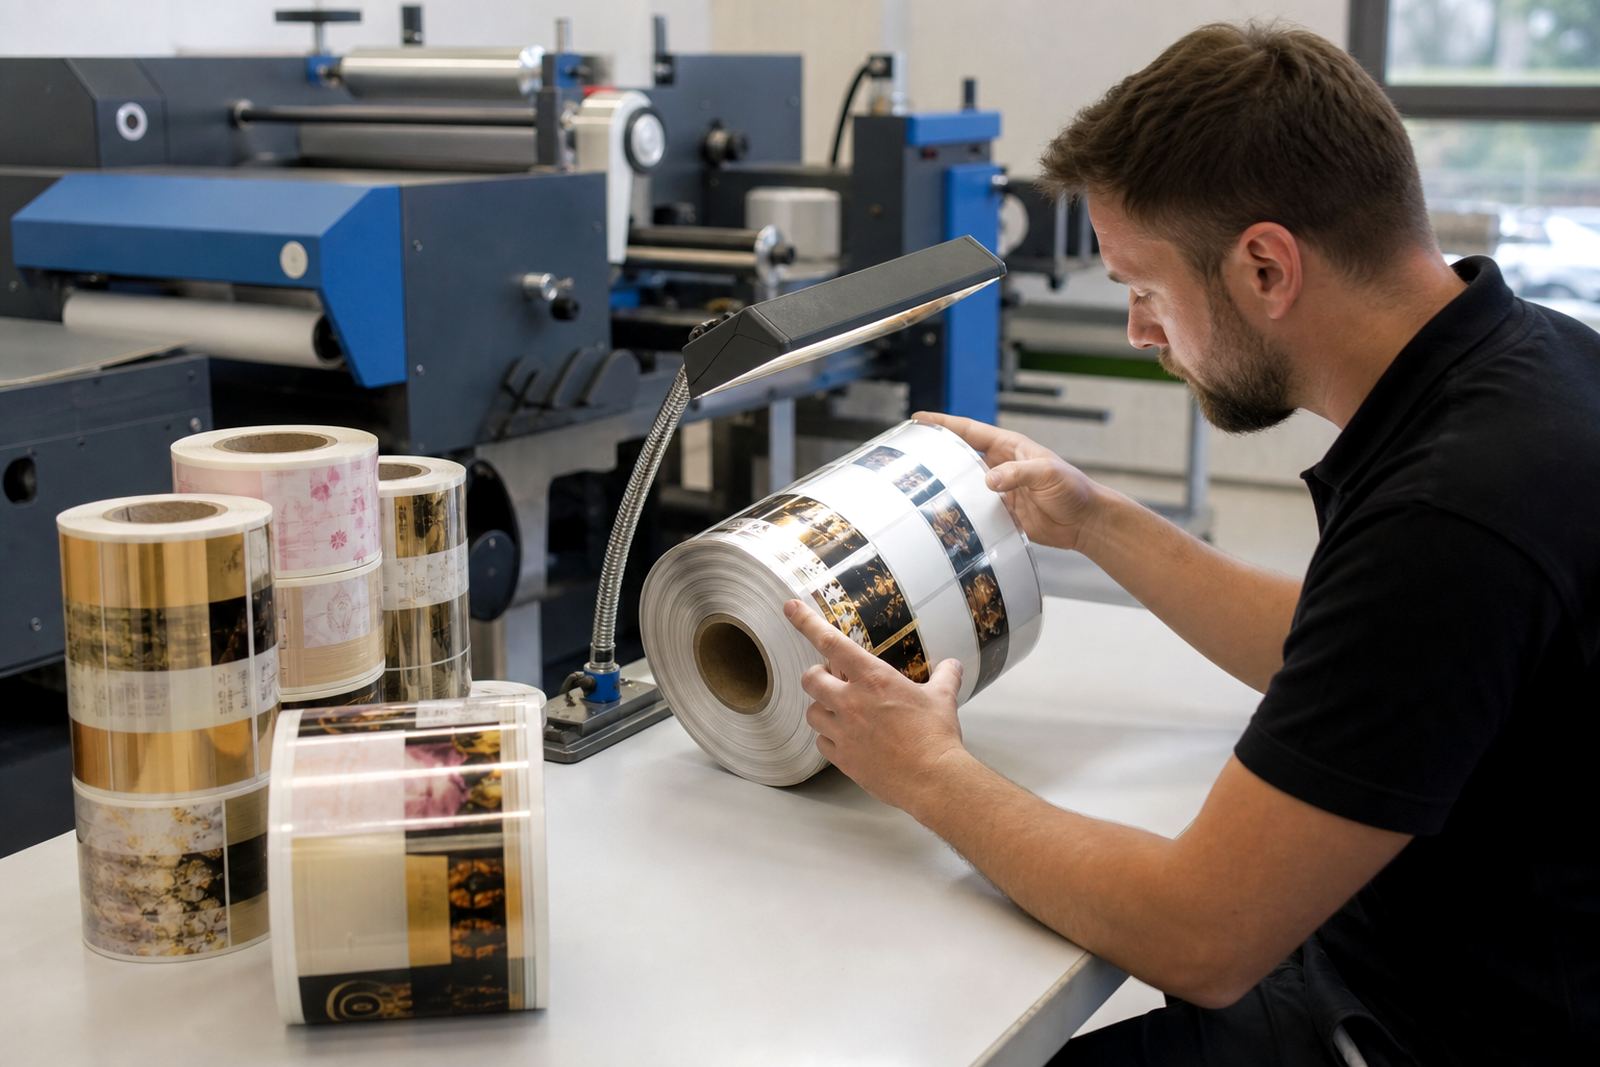
Before the first production batch, the web path should be checked for alignment, the die or laser path should match the artwork, and the matrix strip should be tested on a short run. A small trial roll often shows whether the tension is too high, whether the rewind is building evenly, and whether the sensors are reading the marks cleanly on transparent stock. That check can save a long shift of waste if something is off.
If the job includes varnish or a protective laminate, the operator should also look at the surface after cutting. Any lift at the edge, any cloudy line in the laminate, or any drag mark from the stripping section needs attention before the line goes into steady production. Clear film shows every fault, and it rewards careful setup better than any quick shortcut.