
Campaign labels that have to leave the press tidy
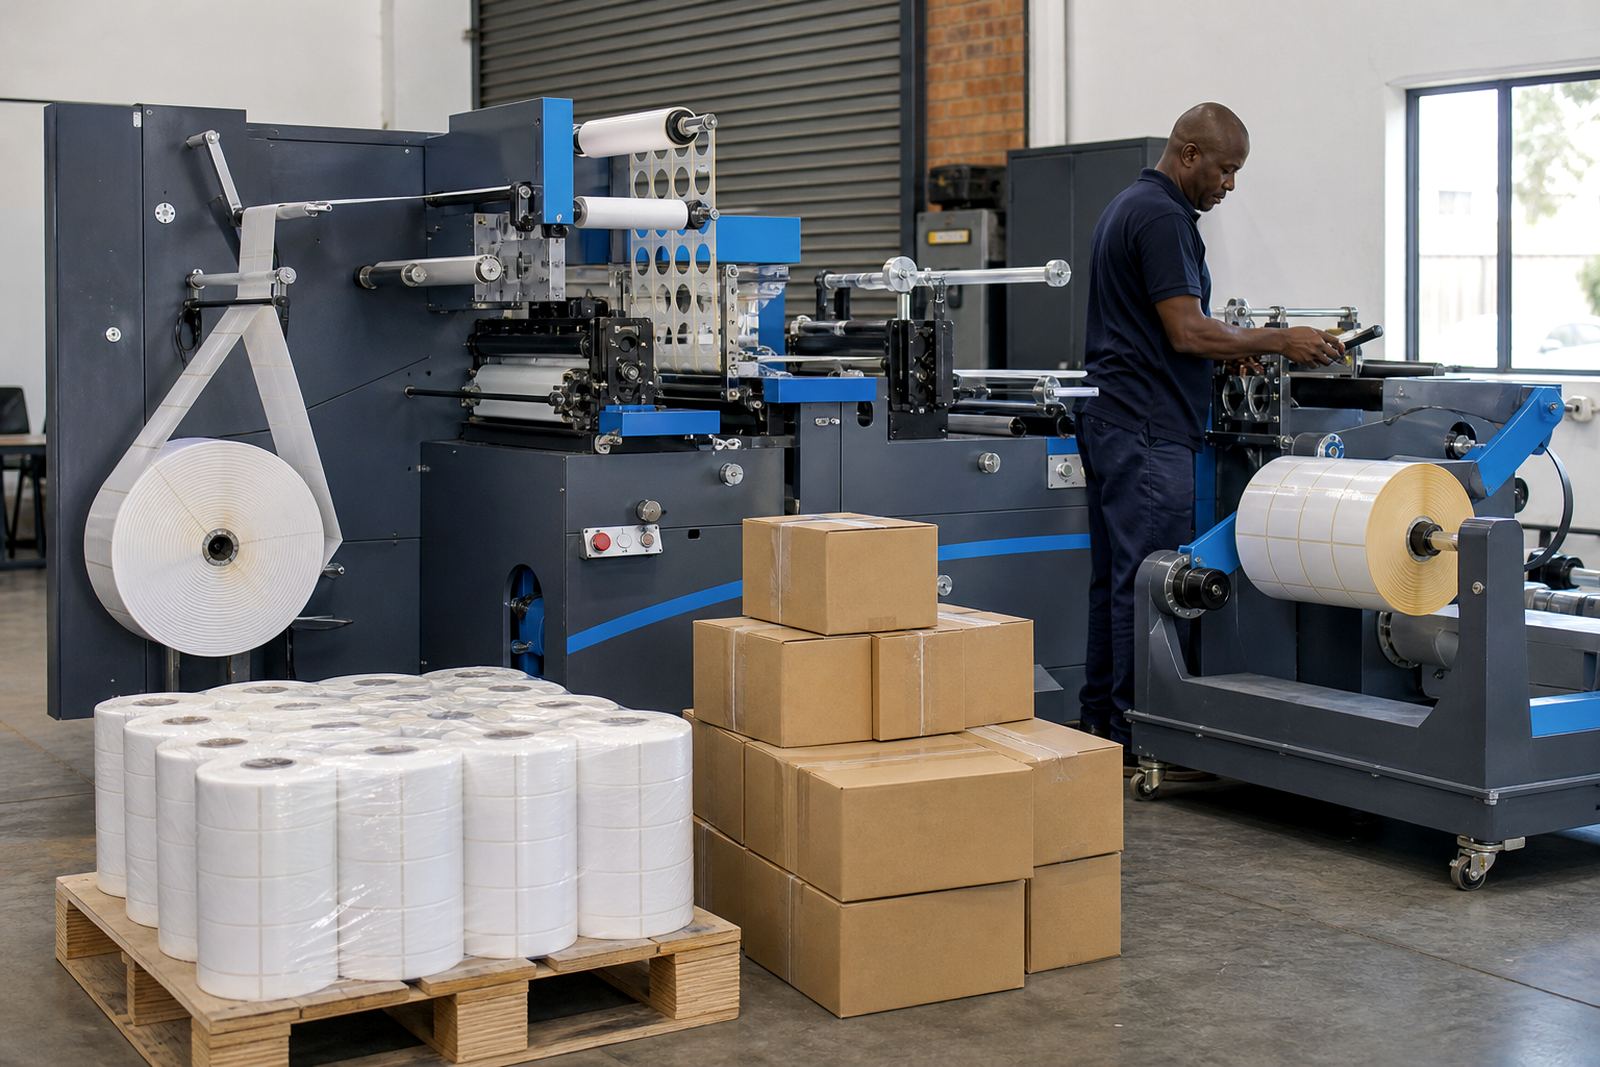
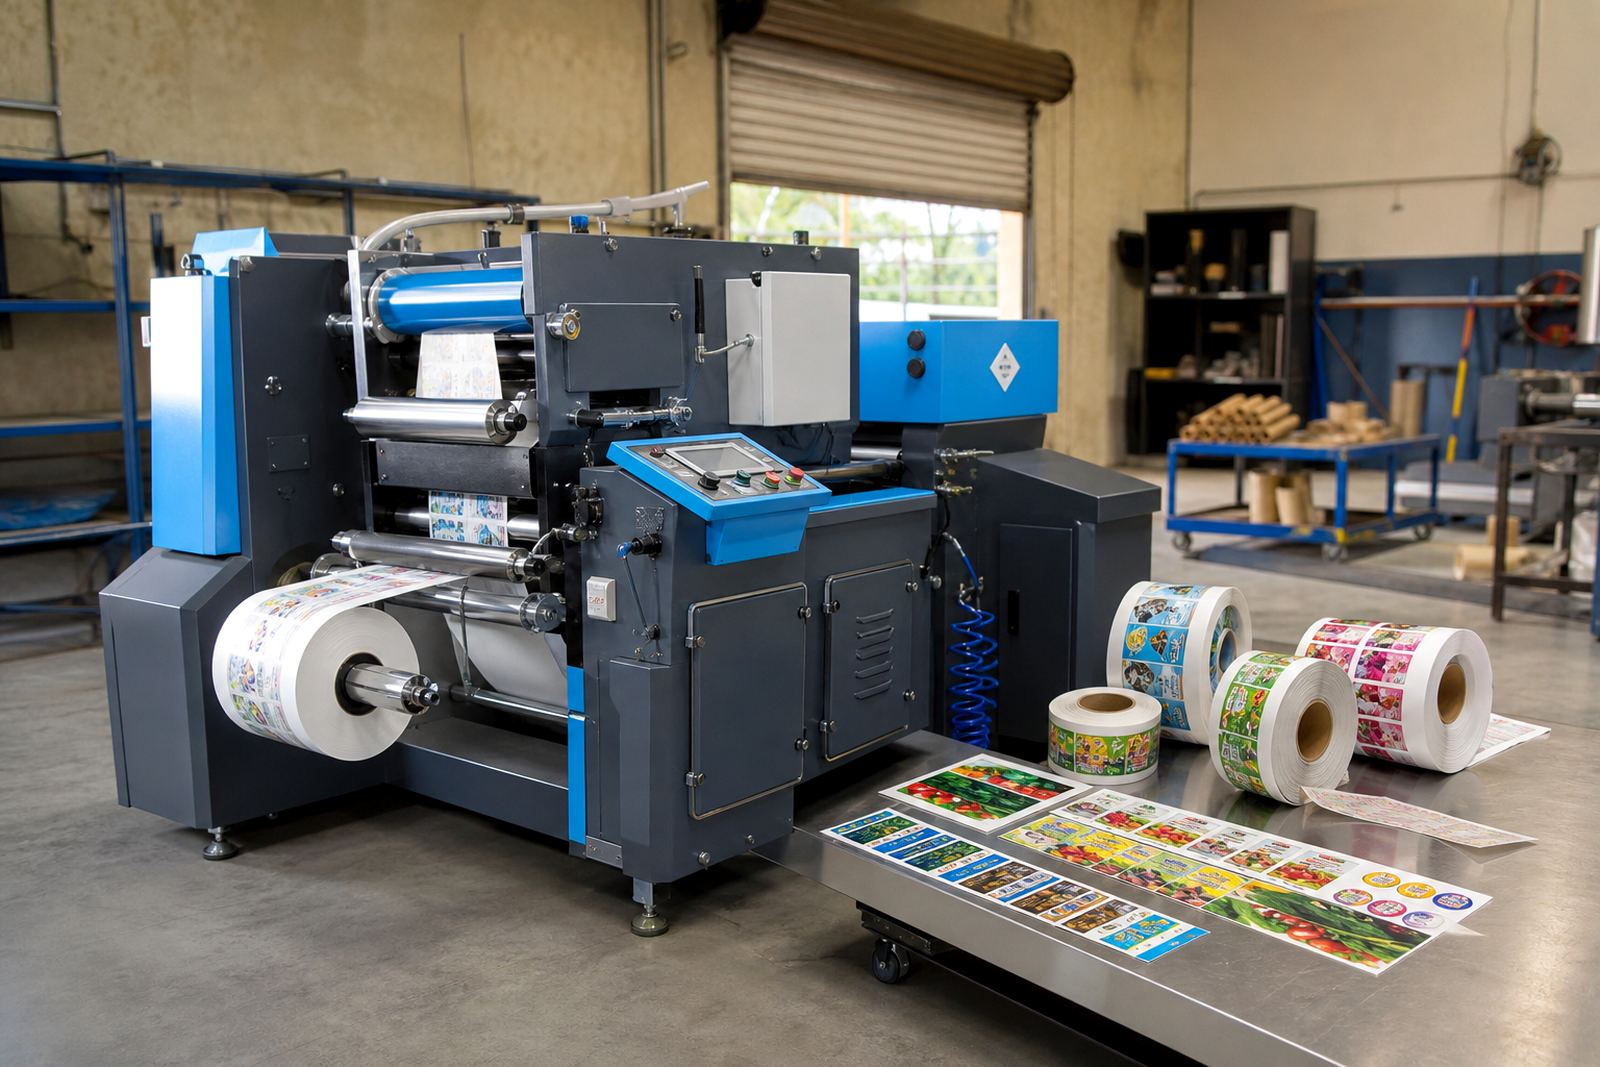
Promotional labels usually move faster than standard production. A retail launch, seasonal pack refresh or in-store campaign can call for smaller quantities, variable artwork and a tidy finish that still feeds well on applicators or by hand. The print may be digital, but the finish has to look deliberate, with no ragged matrix edges, no loose slitting and no roll collapse on the shelf.
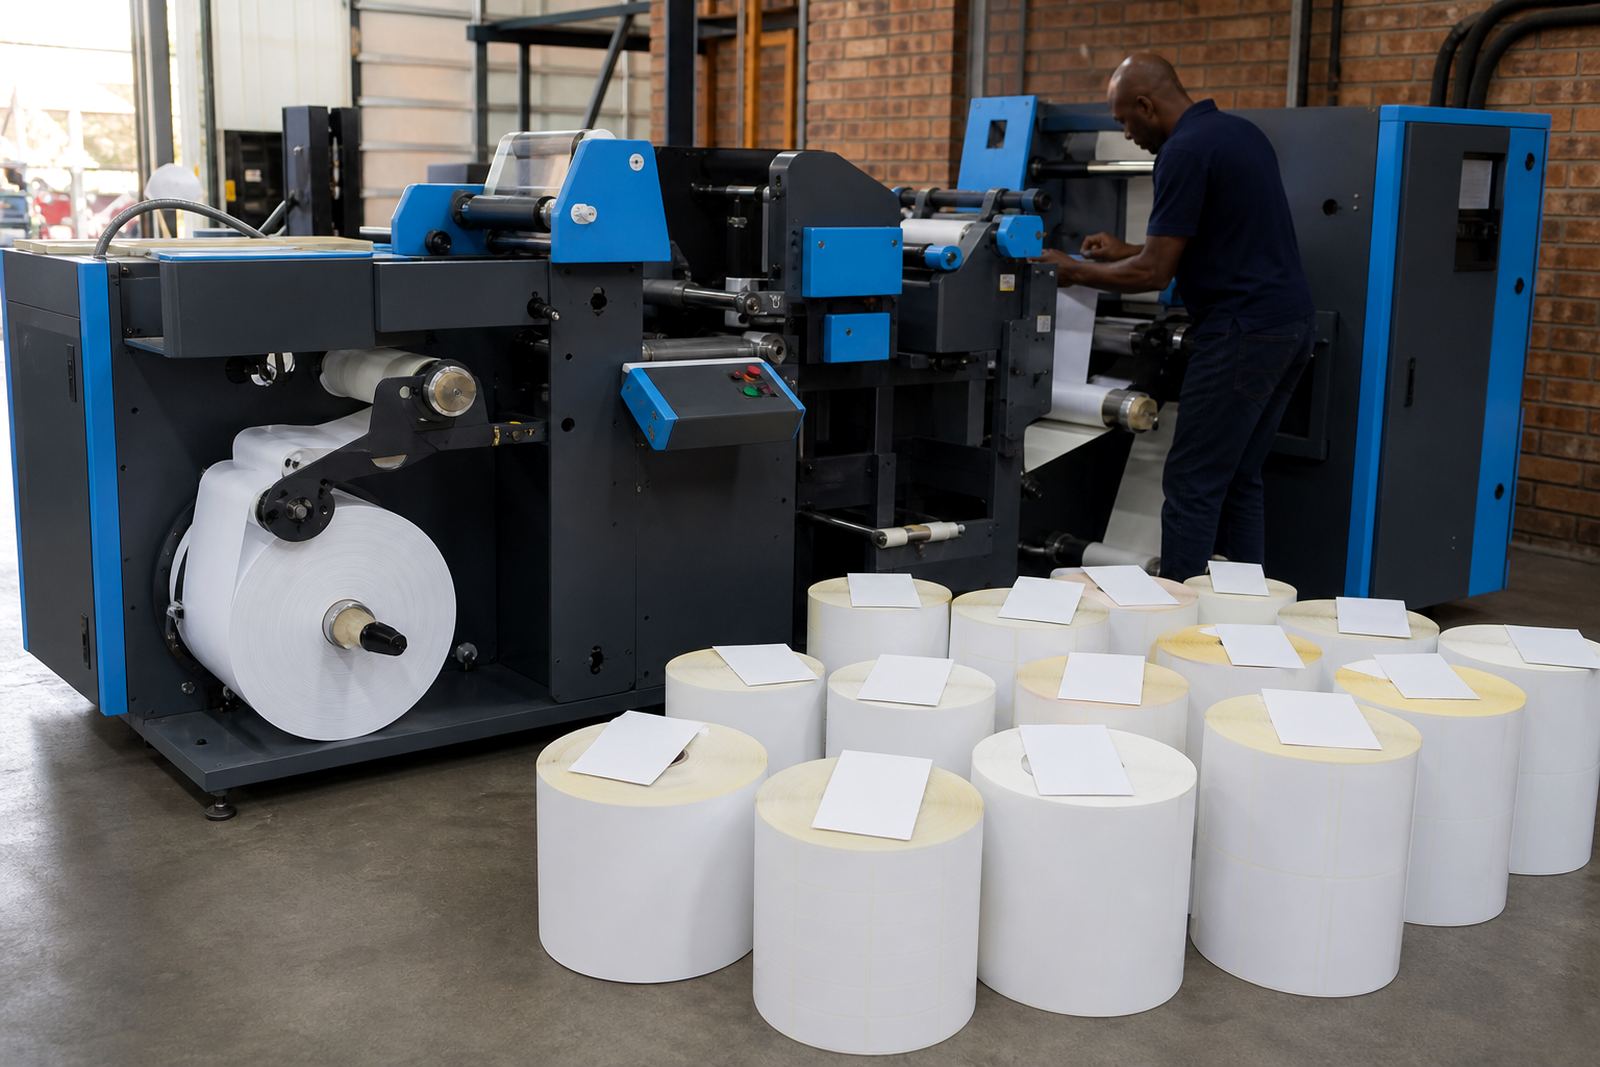
For that kind of work, the finishing line becomes part of the product. A stable unwind, accurate web guidance, lamination where the label needs scuff protection, and clean die-cutting all matter. Where the artwork is built with registration marks, the machine must read them consistently so the cut follows the image and the gaps stay even from first label to last.
What a promotional label line usually includes
The right set-up depends on whether the printer is finishing short runs in-house or feeding labels into a wider pack house. A promotional line often combines printing, lamination, die-cutting, matrix stripping, slitting and rewinding in one flow. Some sites use flexible dies for repeat work, while others rely on semi-rotary or laser cutting for frequent artwork changes and smaller order sizes.
- Unwind stand sized for the roll widths you actually print
- Laminator for gloss, matt or protective overlaminate films
- Die-cutting section for shaped labels and clean kiss-cut depth
- Matrix stripping for removing waste without lifting corners
- Slitting and rewinding for narrow rolls, twin lanes or customer-specific counts
- Registration control for artwork with a printed mark or consistent repeat length
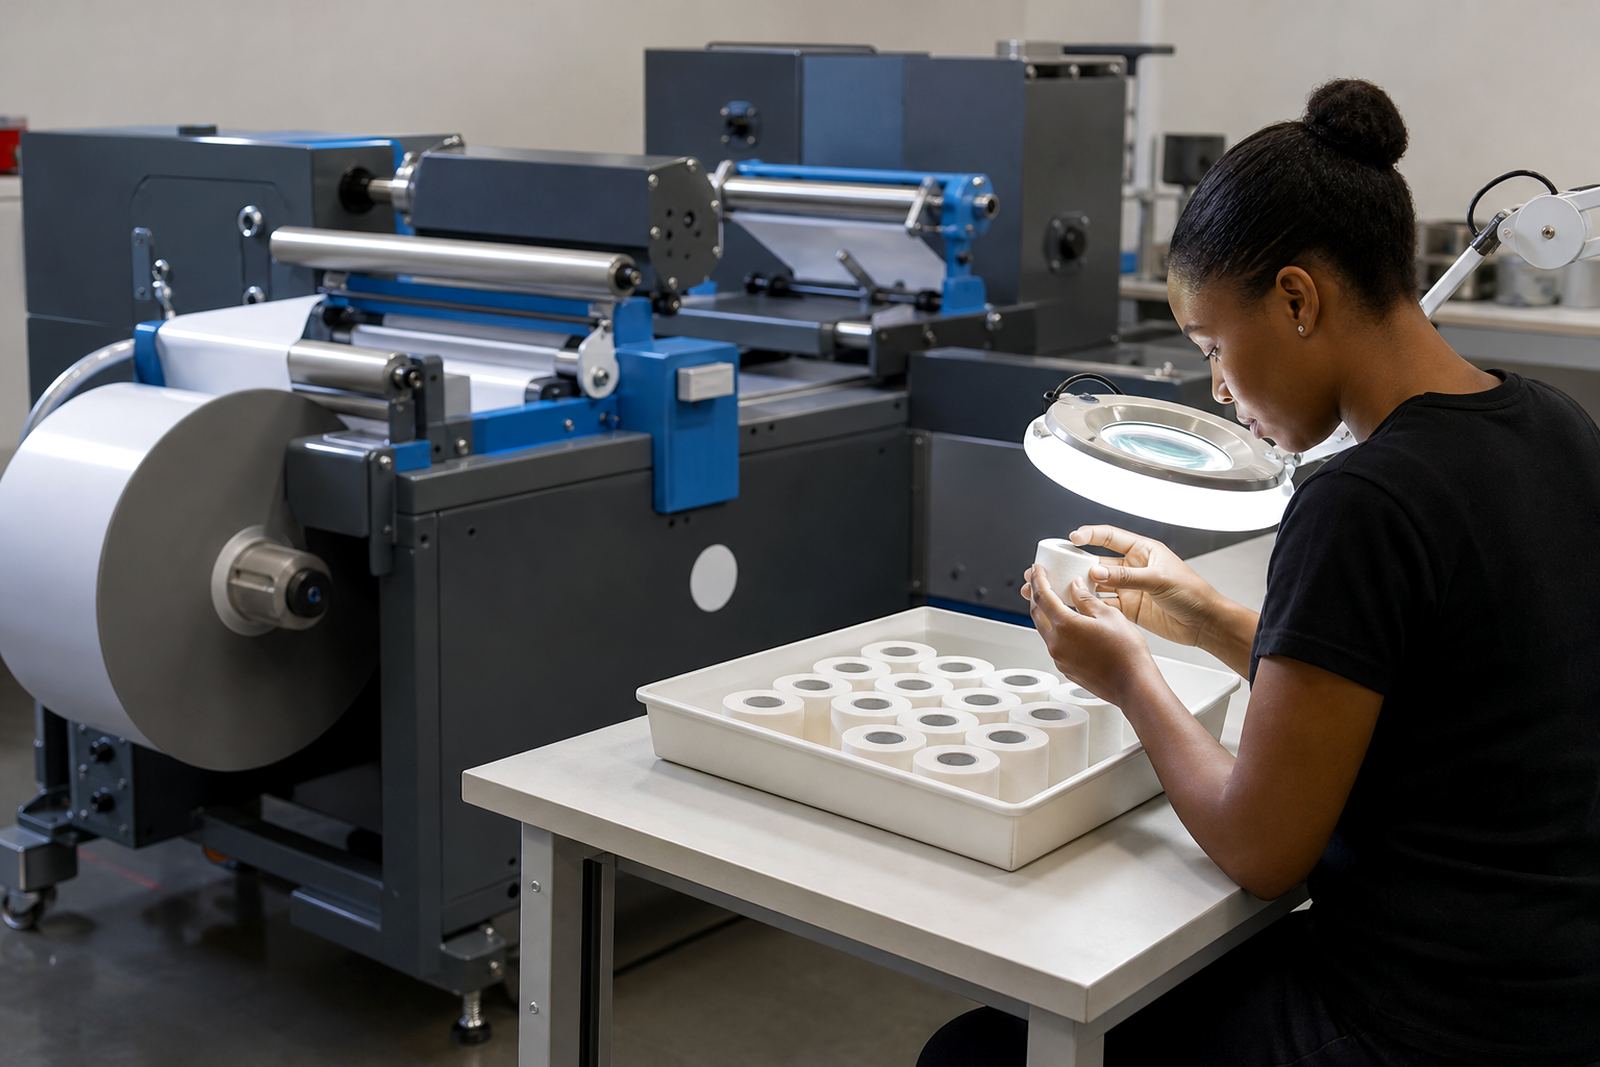
For labels used on promotional packs, the roll build also matters. If the rewind is too loose, the outer wraps shift in transit. If it is too tight, the roll can trap curl and give feeding problems later in the line.
Planning the layout around short runs and mixed artwork
A promotional label room works best when the web path is short and easy to inspect. Space for loading, checking and rewinding should be clear enough for an operator to make small adjustments without walking around the machine all day. On busy weeks, small inefficiencies show up quickly if the rewind, waste take-up and slit rolls are awkwardly placed.
We normally look at roll diameter, material type and the size range of the jobs before talking about machine layout. A printer handling 40 mm to 220 mm label widths will need different guiding and rewind options from a site doing narrow cosmetic labels. Humidity in coastal areas can change the way adhesive stocks behave, so the web path and storage habits matter in Durban, Cape Town and Gqeberha.
Good planning also includes the finishing order. Some jobs need lamination before cutting, others after. If varnish is part of the job, the cure or drying behaviour must be considered before the die section or slitter is set. That is where practical training helps, because the machine can be technically capable but still produce waste if the order of operations is wrong.
Common mistakes that waste time and material
Promotional label runs often fail in small ways, not dramatic ones. A slight register drift, a worn flexible die, or a rewind tension setting that was copied from a previous job can spoil a whole batch. Another common issue is setting up for the artwork image and forgetting the matrix path, which leaves waste hanging at the exit and creates stop-start feeding.
- Using the wrong cut depth for coated or textured stocks
- Ignoring the effect of film lamination on web thickness
- Slitting too close to the adhesive edge on narrow labels
- Letting registration marks sit in a weak print zone
- Running a promotional repeat without checking the rewind core size
- Skipping waste removal checks after a changeover
In a busy shop, a minor typo on a job ticket or a rushed handover can create the wrong rewind direction, wrong gap setting or the wrong count per roll. That sort of error is easy to miss until the labels reach packing or the application line.
Cost ranges that make sense for this kind of work
Budget usually depends on the mix of finishing functions, the level of automation and whether the line must handle laser, semi-rotary or flexible-die work. A compact finishing set for straightforward promotional labels will sit in a lower bracket than a line built for high variety, lamination, matrix stripping and multiple slitting formats. Installation, setup and operator training should be allowed for separately when planning the total spend.
For local planning, many promotional label operations in South Africa start thinking in ranges rather than single figures. A basic finishing machine may sit from about R450,000 to R900,000. A more complete line with better registration control, lamination and rewinding can move from around R1,000,000 to R2,500,000 or more. Fully configured systems for demanding label printers and pack houses can sit above that, depending on web width, automation and finishing speed.
Parts, preventive maintenance and spare consumables also belong in the budget. Flexible dies, slitter blades, cores and wear items are part of normal running costs, and it is better to plan for them than wait for a production stoppage.
Support that keeps promotional work moving through the season
Promotional label work benefits from practical support that covers setup, operator habits and machine care. Our team works from Kya Sand, Randburg and supports label printers and packaging producers across Johannesburg, Pretoria, Durban, Cape Town and Gqeberha, with site work for installation, line commissioning, preventive maintenance and breakdown repairs. Remote support is useful for checks on web path, register alignment and rewind settings when the issue is not mechanical.
That support also covers die setup help, registration calibration, rewind setup, slitting setup and production optimisation. Where a promotional label programme is changed often, it helps to keep a clean record of repeat lengths, core sizes and approved tension settings. The machine then becomes easier to set up for the next job, even when the artwork changes from week to week.
- Use consistent job notes for repeat length and core size
- Check lamination direction before trimming or rewinding
- Keep spare blades, dies and waste-path items on hand
- Train more than one operator on the changeover sequence
For clients reaching us through our contact form, the first step is usually to outline label width, substrate type, repeat length and the kind of finish required. That gives enough detail to talk about a practical machine set-up for promotional labels without overcomplicating the line.